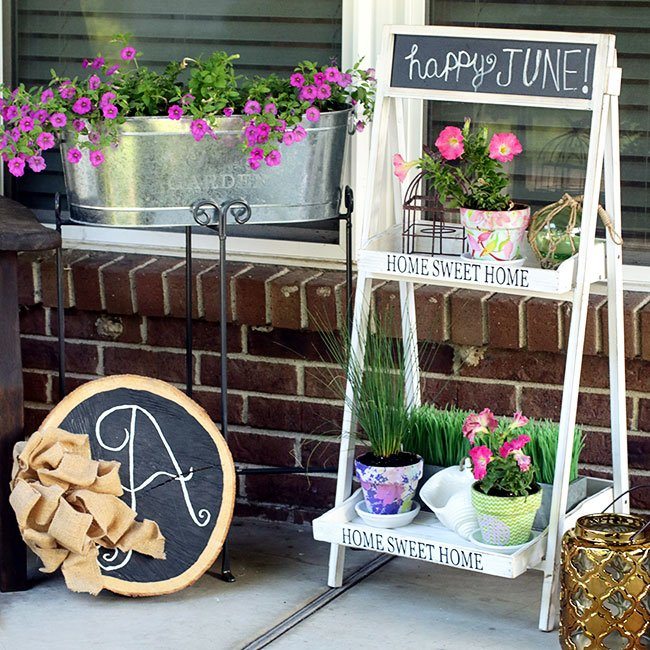
 Happy Fri-YAY to my sweet readers! Today I’m sharing a DIY project that I’ve been wanting to do for awhile. I had some old and faded fabric pots from last summer and I decided to cover them up with moss!! This was SO easy and I can’t wait to put one or two of these on my ladder shelf on the front porch and who knows where else!

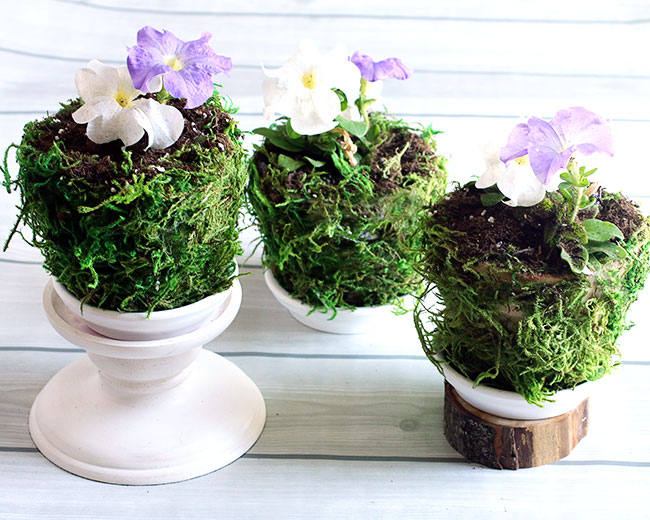
I’m going to share the deets on how to make these adorable pots below. These are perfect to fill with herbs, annuals (I filled them with petunias!) and you can make them to gift for Teacher Appreciation Day, Mother’s Day, etc.! Or you can just whip some up for your own home like I did! 🙂
Fabric and Moss Covered Pots
For these pots, I repurposed some old and faded fabric pots that I had made last summer. You don’t need fabric covered pots (see my fabric pots post HERE), but it does add a nice touch of color under the moss. You could just use a regular terra-cotta pot and it’ll be fine just covered in moss. Now, I’ll lead you through the steps on making your own moss pots!
Directions on How to Make Fabric and Moss Covered Pots: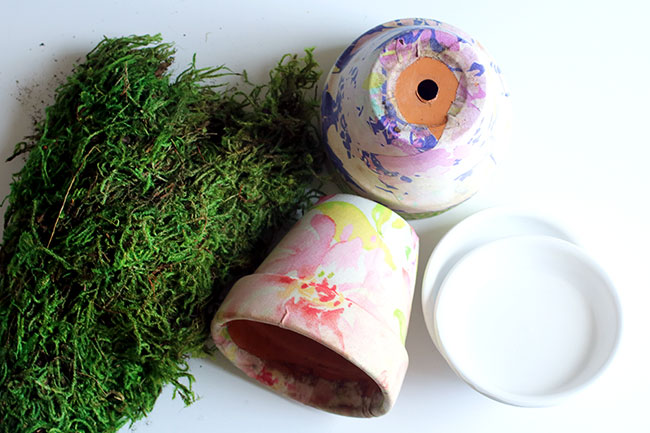
You don’t need a lot for this project. You’ll need a bag of moss {duh}, 4″ terra-cotta pots and matching lids. I painted the lids white. I had some fabric wrapped terra-cotta pots laying around and used those!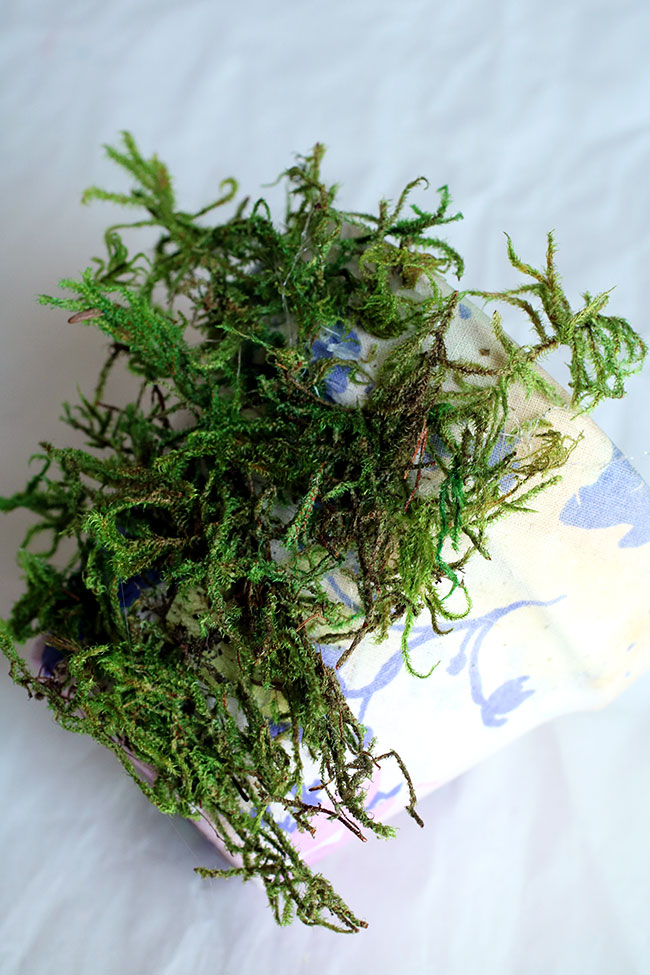
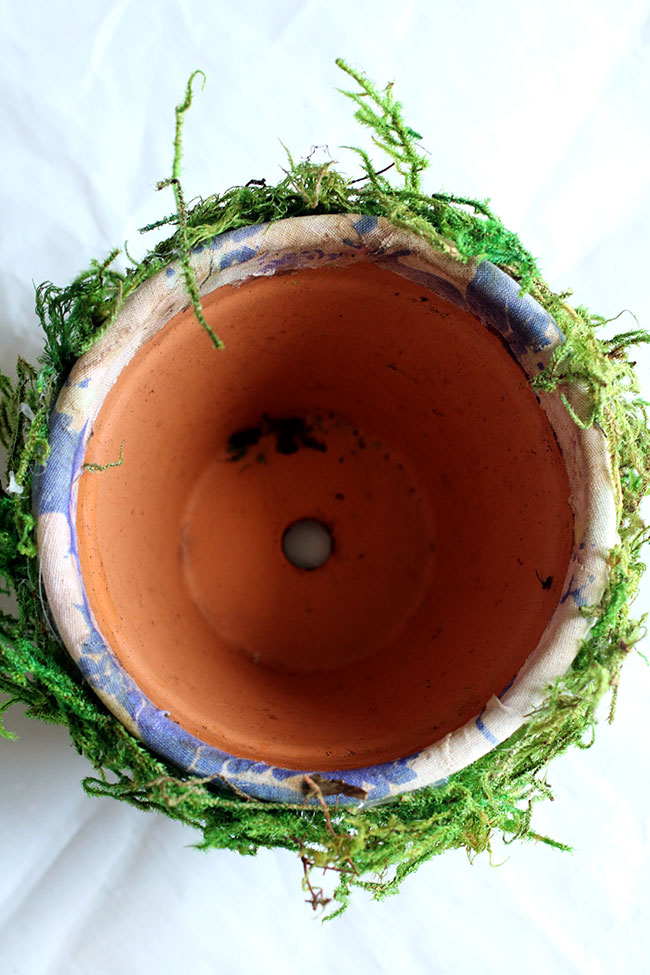
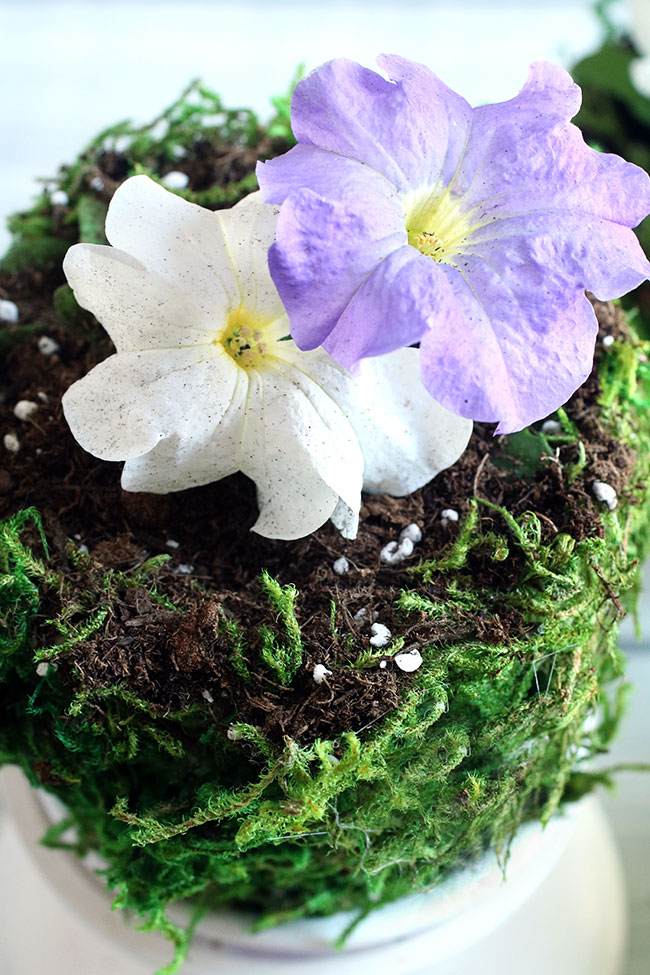
I tried to mod podge the moss to the pots. It didn’t work. Not at all. So, I tried a hot glue gun and had success! Make sure you hot glue a little at a time, so you can work with the moss and fill in any gaps. Once your done going around the pot, you’ll want to add moss to the very top. You’ll see in the above photo on the right, that this pot doesn’t have moss added to the top rim yet.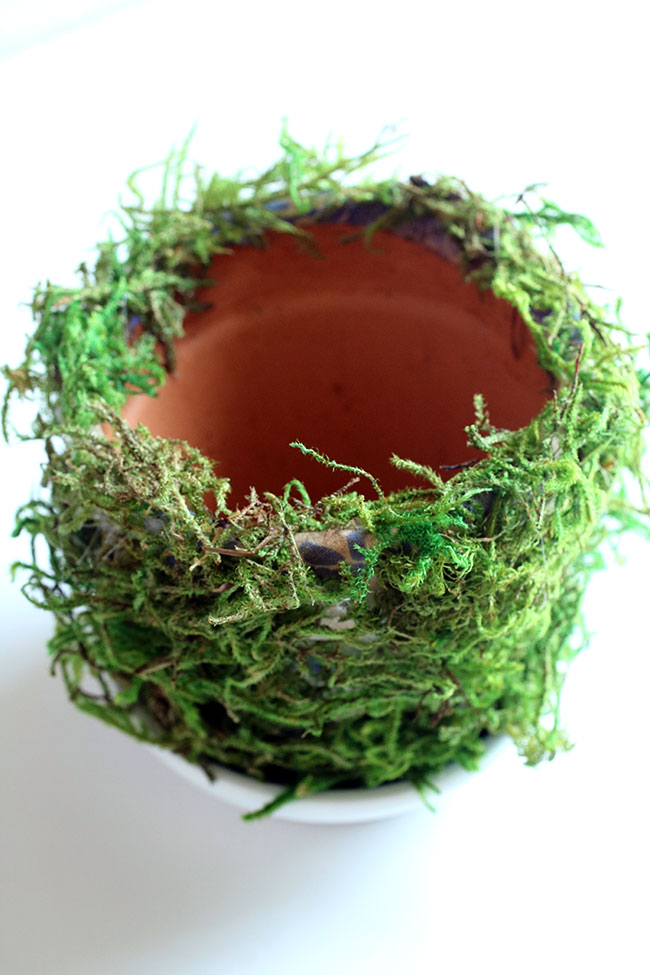
This is what your moss covered pot will look like when you’re done. Isn’t it cute?!
Some Lovely Detail Shots: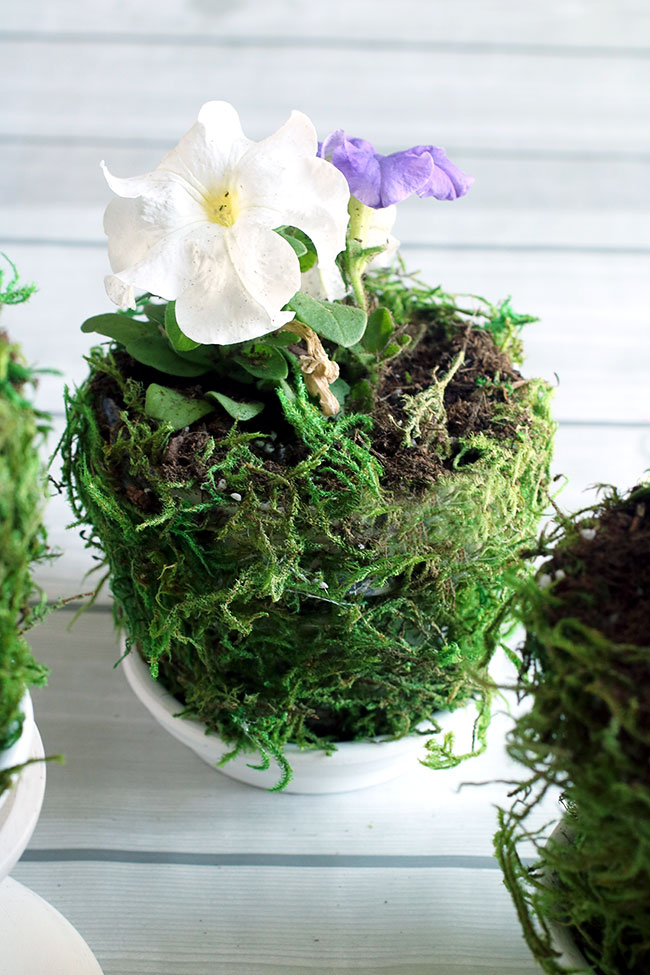
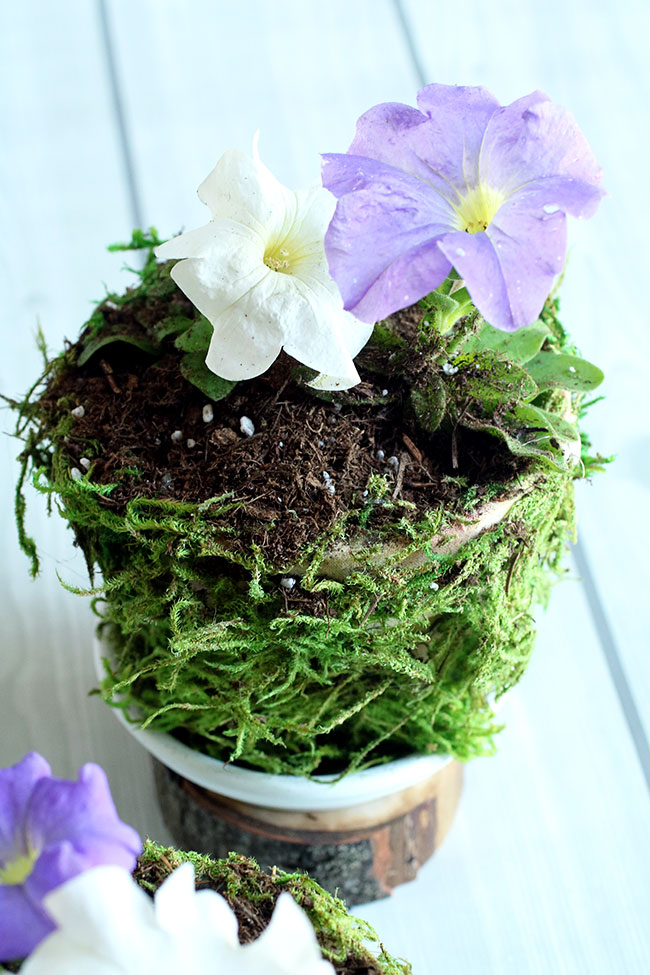
You can put these pots anywhere, as long as they have some sun! I’ve layered them on top of tree slices, on ladders and even pedestals. They’re so pretty!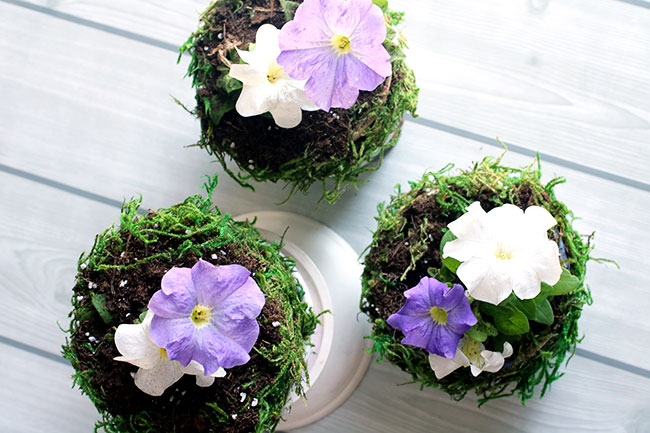
What would you plant in these darling moss covered pots?
My blog friend Lauren at Mom Home Guide is also sharing a gardening post today: