I have been so eager to share my little Fairy Garden on my blog since Mother’s Day. This is such a busy week since I am gearing up for Nathan’s birthday party this weekend and we have so many festivities for wrapping up the end of the school year. I am staying up a little extra late tonight so I can share the Fairy Garden I planted in the bird bath in my rose garden by my kitchen window. Are ya ready?
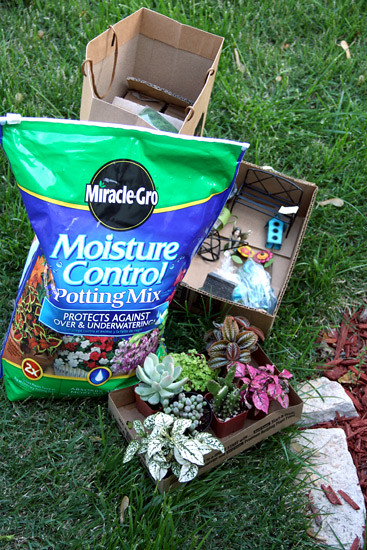
Honestly, I did not even know what a Fairy Garden was until I went shopping in Downtown Kirkwood with some friends several weeks ago. But, when I saw all the cute little and miniature gardens, I knew I had to have one. Brian got me all of the little pieces (fairies, a fairy house, mini bench, etc.) and he had the kids give me the miniature plants for Mother’s Day. I love them, I really do!
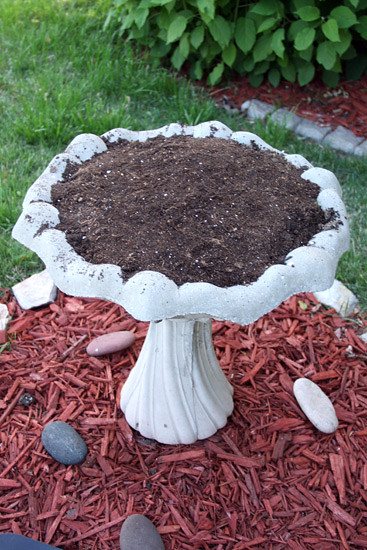
Here is the BEFORE picture. I usually plant wave petunia’s or even succulents in here… but, I decided this would be a perfect place for my Fairy Garden, since I can see the bird bath right outside my window! If you decide to use a bird bath like I did, make sure you drill holes into the bottom of it so that water can seep out gradually and it won’t overflow (think of it as a regular pot in your garden). Dump some potting soil and form sort of a mound on top of the bird bath, so that you can make little hills and such for the Fairy Garden. You don’t want it to be entirely flat or it won’t look very interesting.
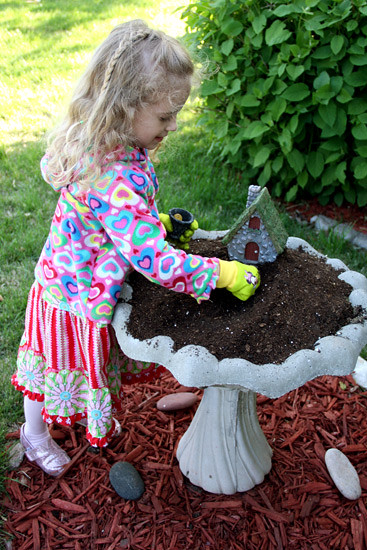
Now, a warning. If you have a little girl, just expect that she will want to help you put together your Fairy Garden. Little girls LOVE all of the little pieces to Fairy Gardens… why? Because, its sort of like an outdoor doll house to them!
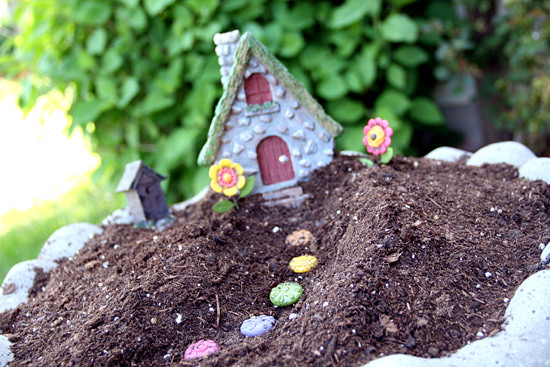
See how the dirt is not completely flat here?
You want to place your house, pots, bench, etc. in the dirt first, before you start placing the plants. I find this easy, because it helps you to space things out… and, its so much easier to move these little items than it is a plant!
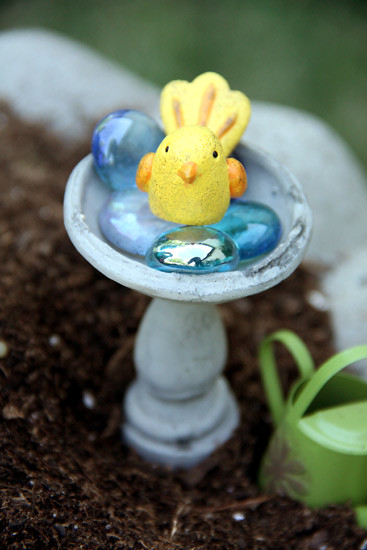
For the bird bath, I used little blue and white glass stones that I had already in the house. These stones give you the impression that they are water.
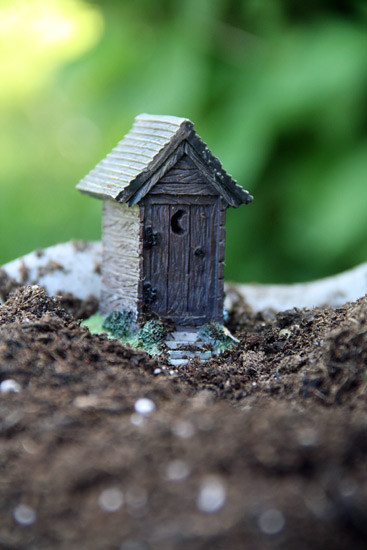
Nathan’s favorite? The out house!
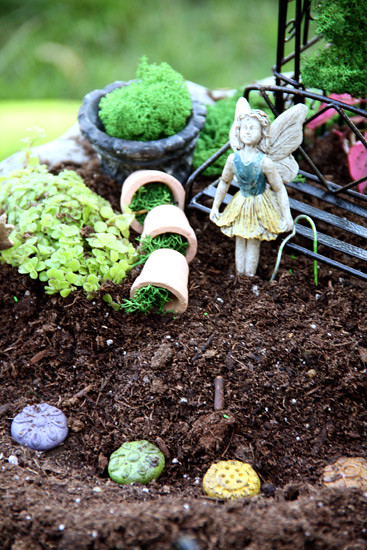
I just love this trio of falling terracotta pots!
Fairy sitting on a bench
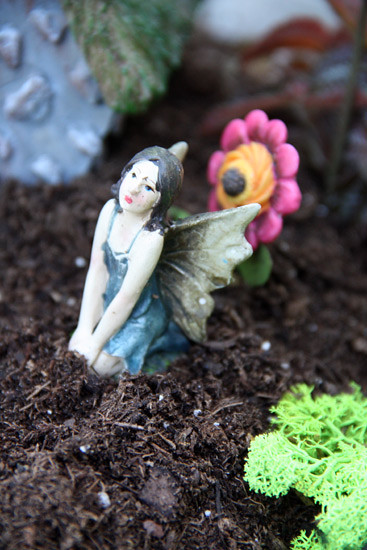
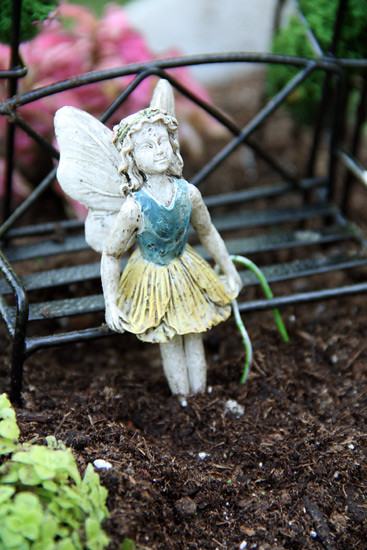
A blue fairy
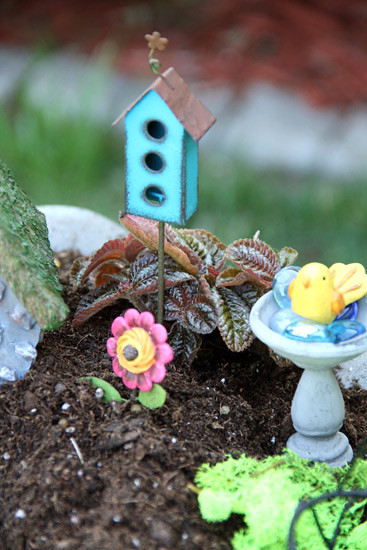
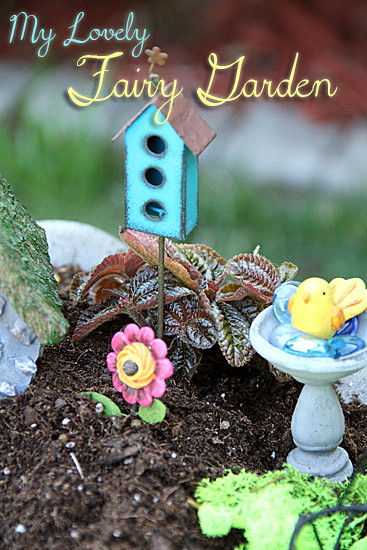
I love the color of this bird house, such a pretty blue
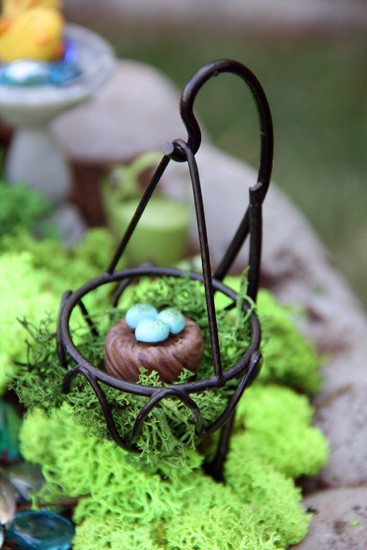
A little next in a hanging basket
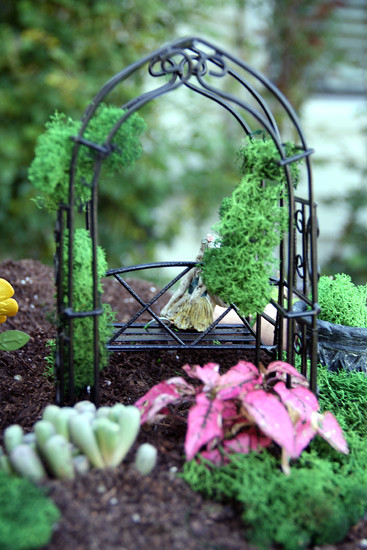
View from the back of the arch
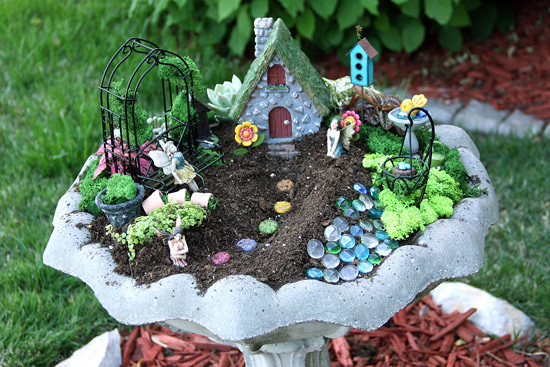
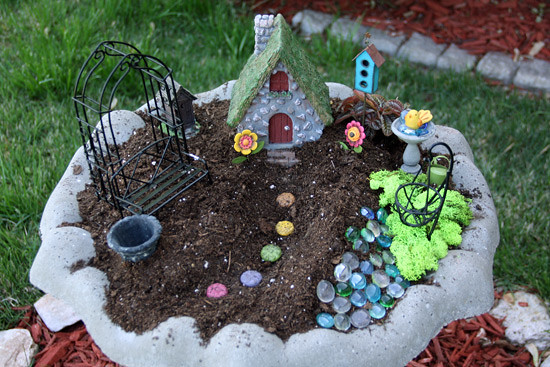
And, here it is! My lovely Fairy Garden all done! I just love how it turned out! It was fun to play in the garden on Mother’s Day, especially with something so dainty and sweet.
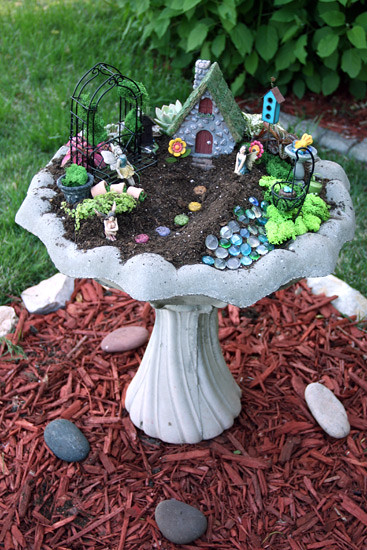
Just another view, this time of the entire bird bath with Fairy Garden on top
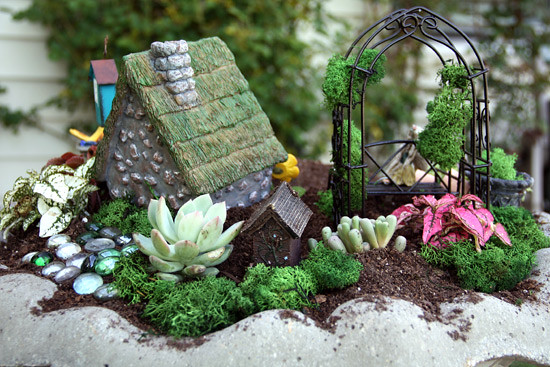
Here is a view of the back of the Fairy Garden. Didn’t the kids do a great job of selecting miniature plants for it at the OK Hatchery?
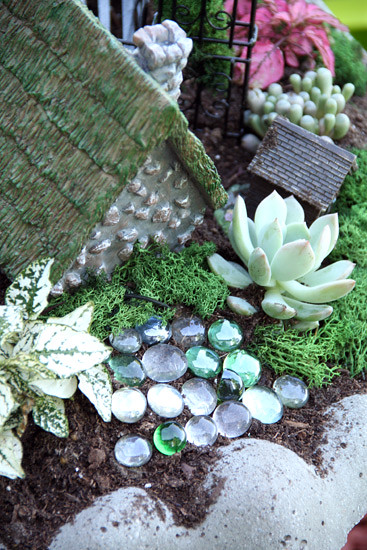
Close up of the back of the house. And, that’s it! It does cost to purchase all of the little items for your Fairy Garden, but you can reuse these items from year to year and buy more for your set as the years go by. I can’t wait to see how my Fairy Garden evolves year to year!
Linked up with:
Get Your DIY On
Create It Thursday
Sweet Haute
Inspiration Gallery
Inspire Me Please
Hit Me with Your Best Shot