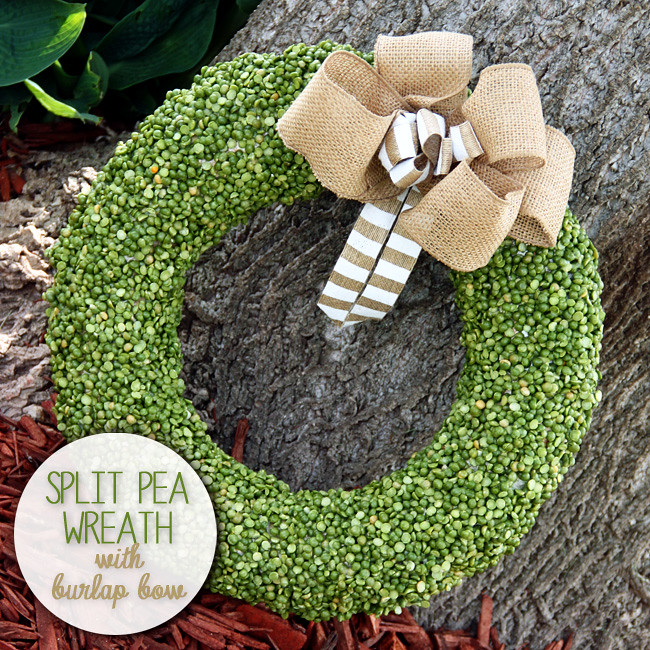
I have a wreath addiction… it seems every time there is a new season, I need to create a new wreath. I have been wanting to make a split pea wreath for several years now and I decided this was the year I was going to make it! This wreath isn’t hard, but it does take several layers of modge podge and split peas to get an even finish. Lucky for you, I will be sharing the how-to’s and also final photos of my split pea wreath complete with a burlap bow. I love the green color in this wreath and it makes me think of Spring, when everything starts to bloom and the grass is the greenest of the year.

This wreath can be displayed plain on a shelf or wreath hook, or you can fancy it up with a burlap bow like I did.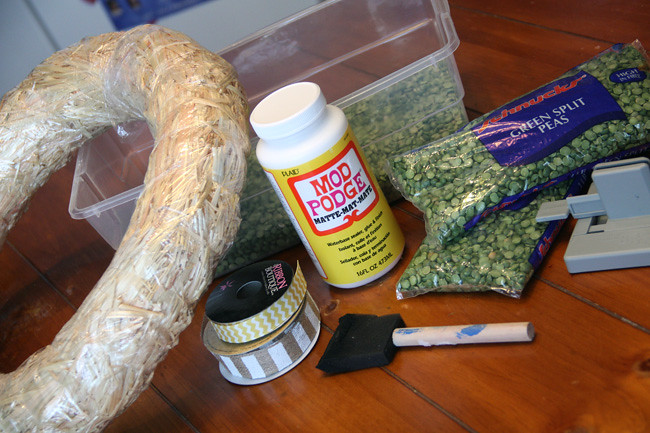
You’ll need a round wreath (I used a hay one and modge podged right over the plastic wrap!), modge podge (a BIG jar, you’ll use a lot!), sponge brush, ribbon for a bow (I used burlap), the Bowdabra, a clear plastic shoe box, split peas (5-6 bags, they run $1 a piece in the dried soup/bean section of the grocery store) and a hot glue gun (if you are doing the bow).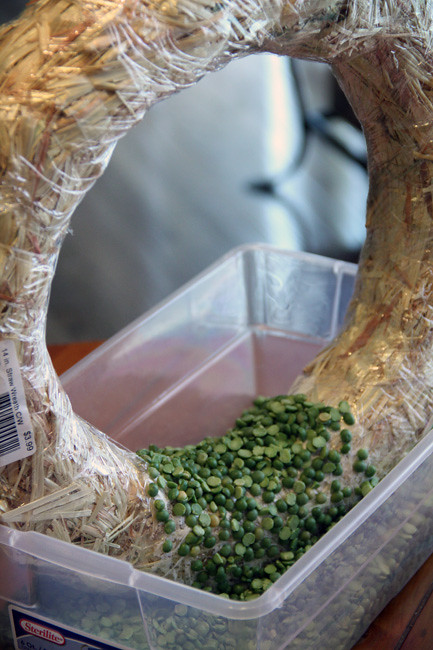
You will pour your split peas (just a couple bags) into the clear show box container and then prop your wreath in the peas. Then, start adding the modge podge with a sponge brush on the wreath and cover the modge podge area with split peas. Let the area set for a minute before starting the next section on the wreath. The modge podge is ‘gluing’ these split peas to the wreath.
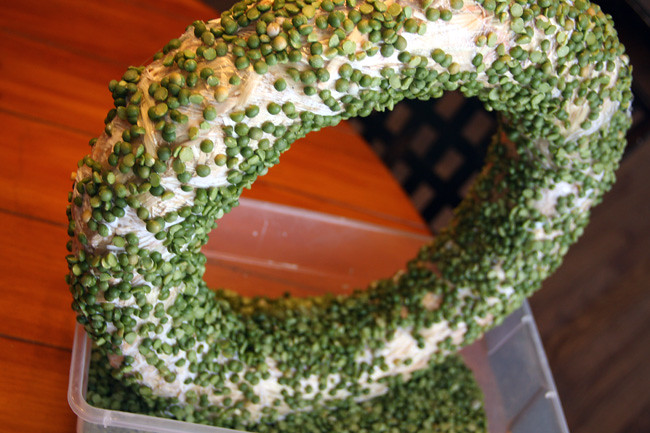
This is a tedious wreath to make and it will take you several layers of the modge podge and several days to let it set in-between layers. I would normally modge podge peas around the entire wreath, let it set for 3-4 hours and then do another layer. In the photo above, you’ll see what the wreath looked like after just one layer of modge podge and peas. Trust me, it will get fuller and fuller and eventually you’ll have a seamless split pea wreath. The peas fall off easier at first, but then after more and more layers of modge podge, they really start to stick to the wreath.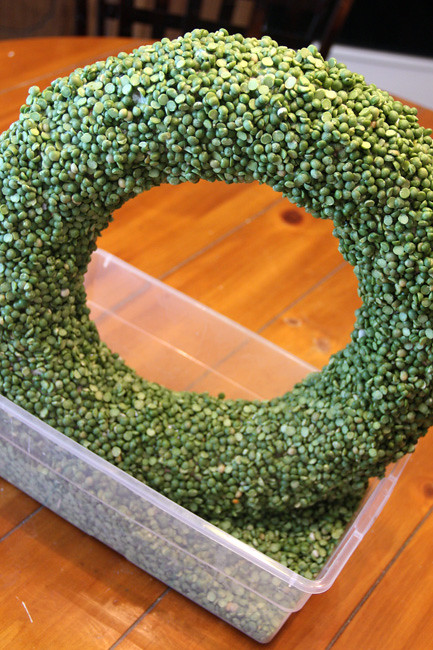
This is the wreath after 8 layers of split peas and modge podge! It is finally seamless and I can spray it with an acrylic spray such as Krylon to preserve it.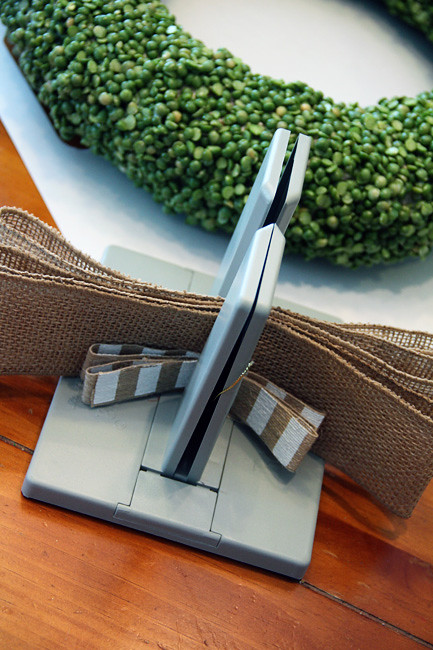
To create the bow, I cheated and used my large Bowdabra bow maker! I used a thicker plain burlap ribbon and a thinner burlap ribbon with white stripes.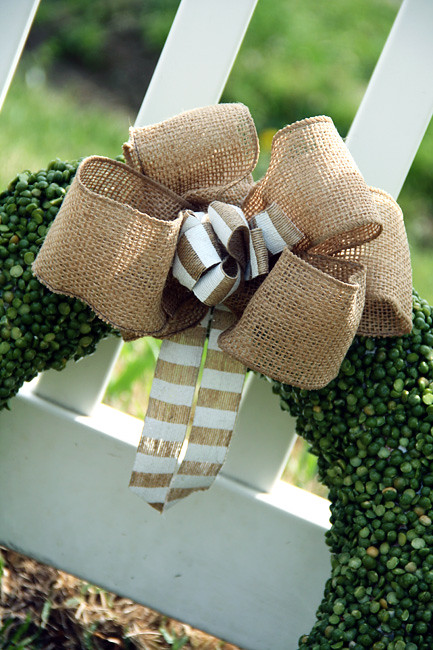
Here is a close up of the bow after I finished it and hot glued it to the top of the wreath. I love using a thick and thin ribbon when making bows, I think it adds a little visual interest. I also added tails to hang down from the ribbon in the thinner ribbon.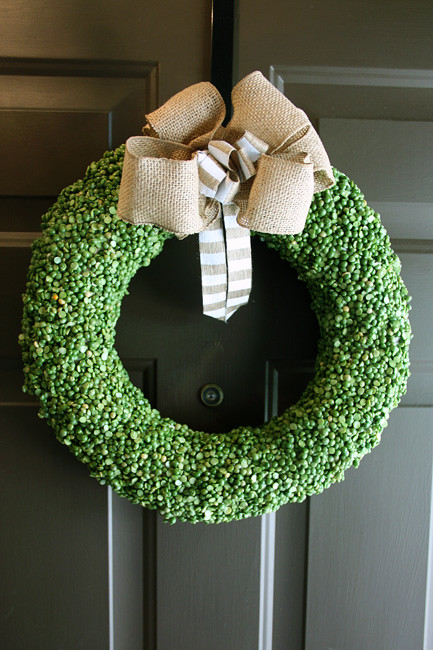
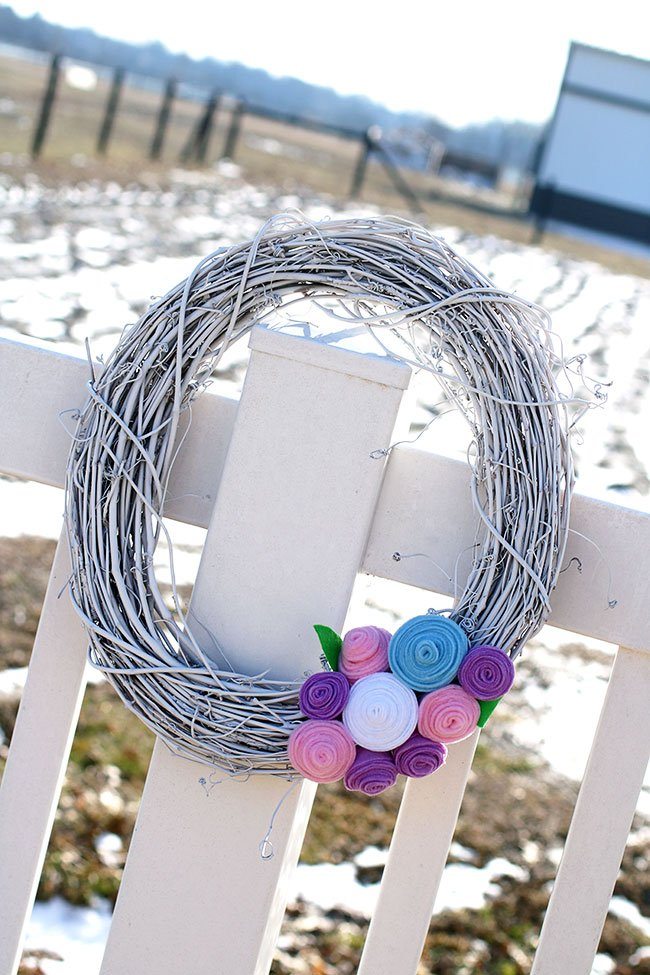
This wreath would look really pretty on a white door! Good thing I am planning on painting our front door white in the near future! 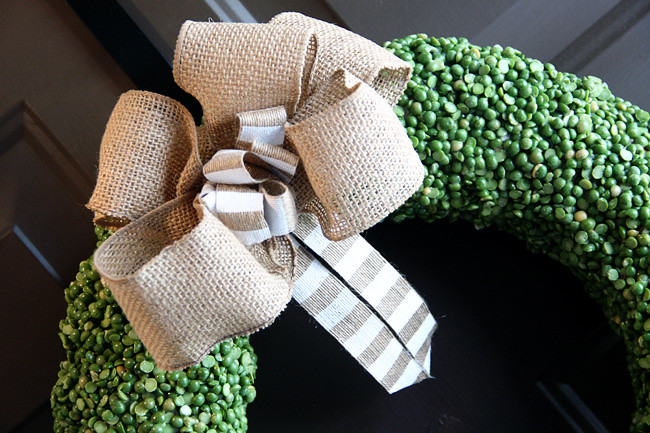
Close up of the bow again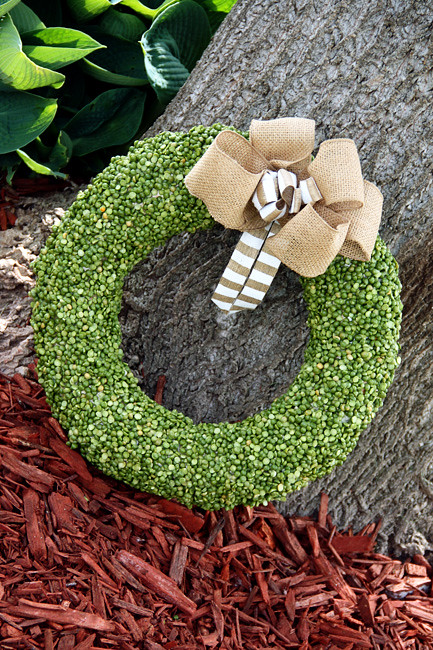
And, because everything photographs better outside… I took the wreath outside for some photos under my tree. It is definitely a beauty!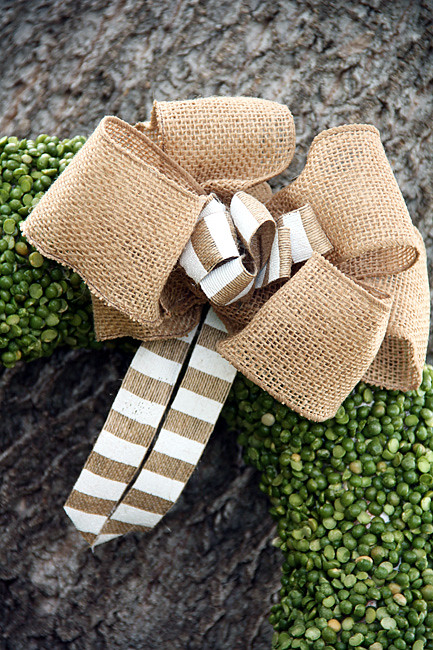
This wreath may have taken me a little work, but it was so worth it!
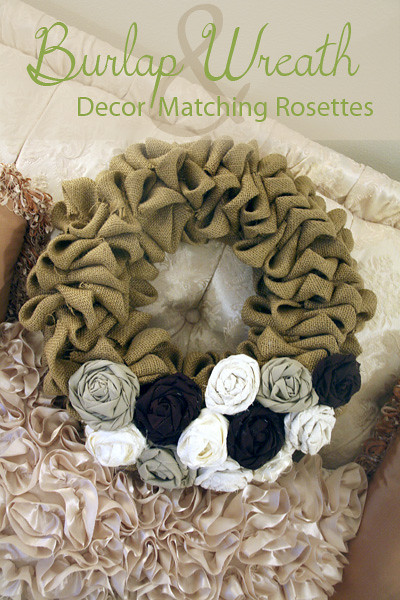
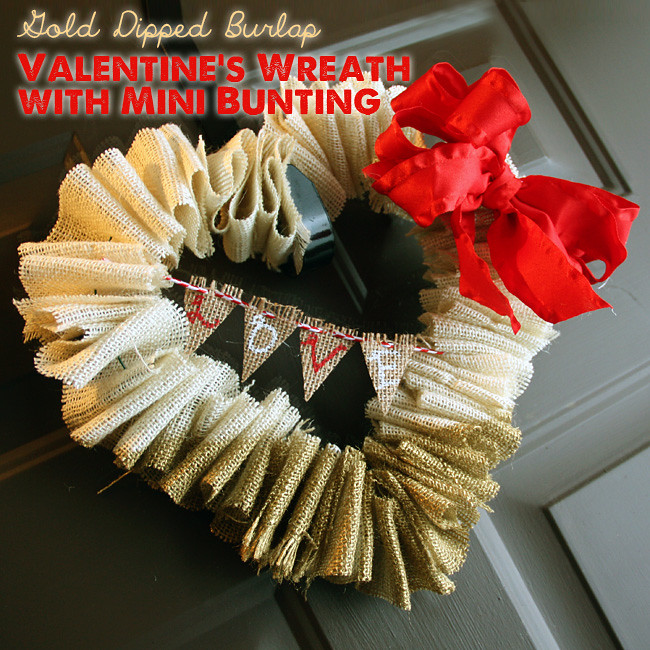
Some of my other burlap wreaths (click on photo to view):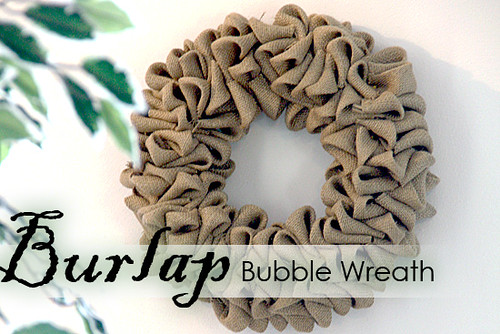
Linked up with:
Hit Me With Your Best Shot
Create It Thursday
Inspiration Gallery
Craft Frenzy Friday
Inspire Me Please
Share Your Creativity
Mommy Monday Bloghop
Frugal Crafty Home Blog Hop
Snickerdoodle Sunday
Fluster’s Creative Muster
Link’n Blog
Say G’Day Saturday
Bewitch Me & Titi
Pin It Monday Blog Hop
Moonlight & Mason Jars
Sweet Haute
Get Your DIY On
Spring Blog Hop

