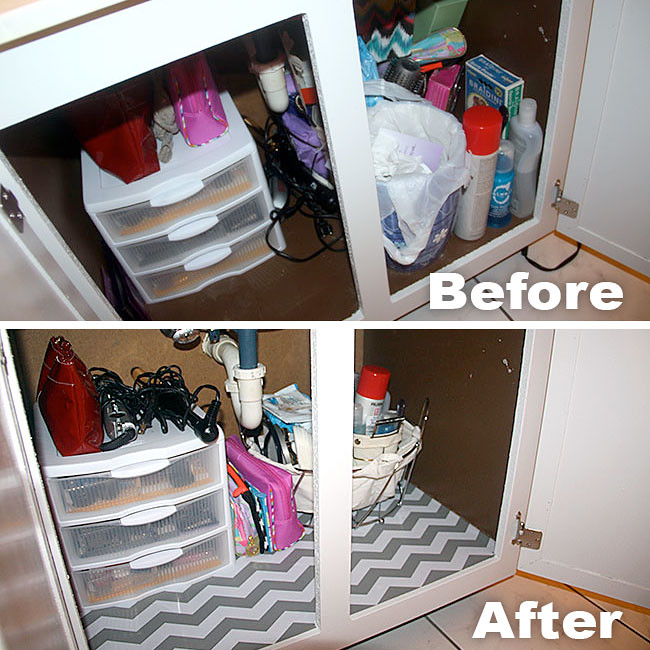
The last part of the Master Bathroom that I needed to take care of was adding a shelf liner to the bottom of the vanity. I also cleaned out the bottom of it as well, since I had to take everything out to apply the shelf liner.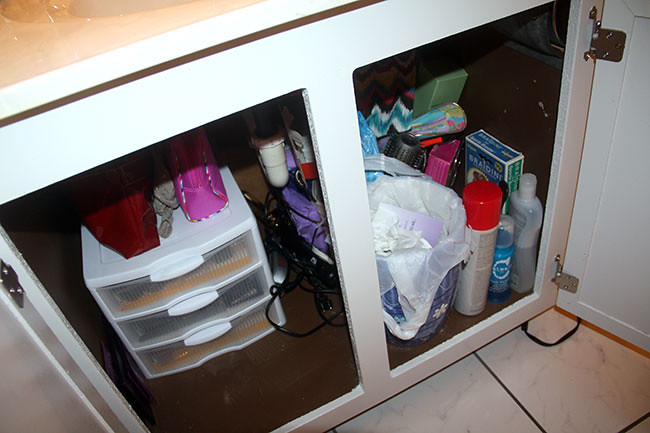
Here is a before picture… YUCK. The only organized part is on the left where I have my makeup organizer. Otherwise, everything else under there is a big mess!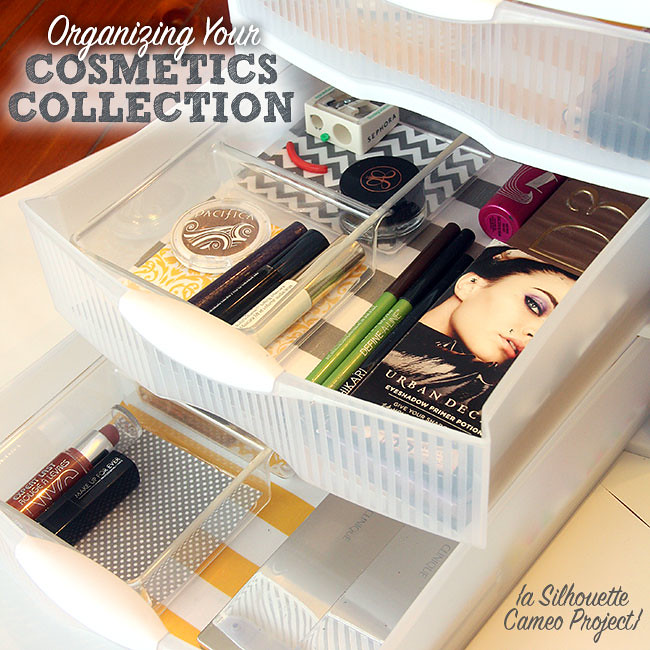
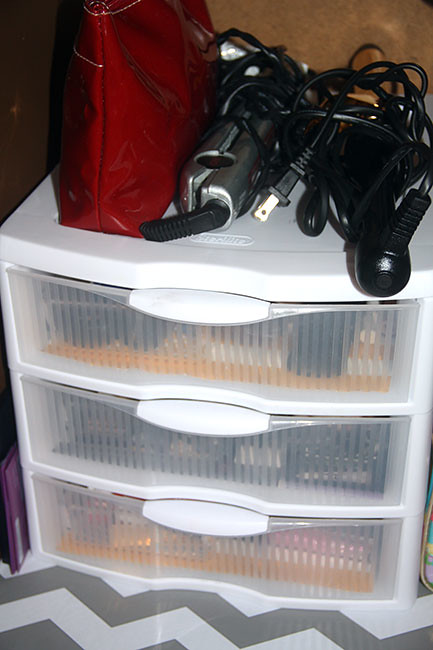
Here is my post about creating your own makeup organizer, click HERE to see it. I am still planning on making one more organizer for the vanity for my hair styling products, headbands, ties, etc.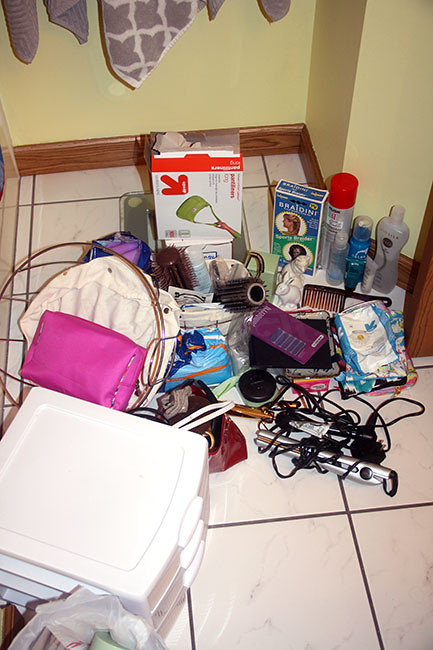
All of the junk that I pulled out! 3/4 of this I didn’t even need or use anymore!
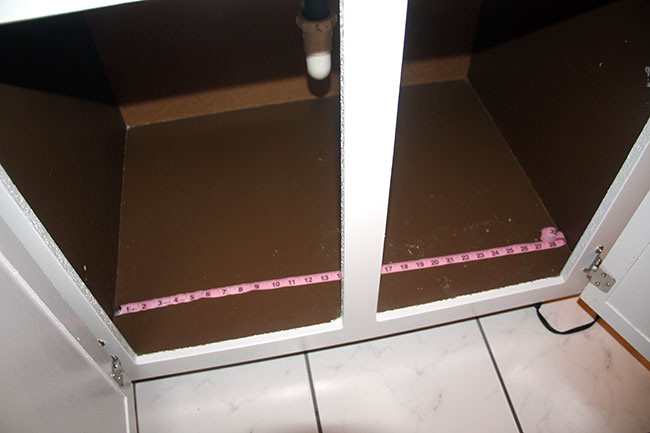
The first step was measure the length of the vanity.
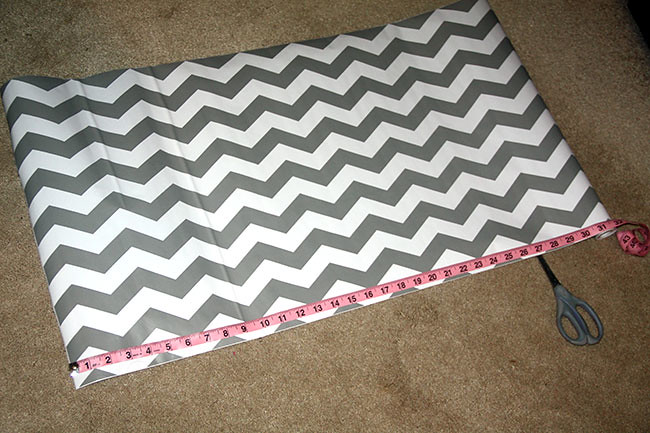
Then I measured out the contact paper to the same size of the length of the vanity.
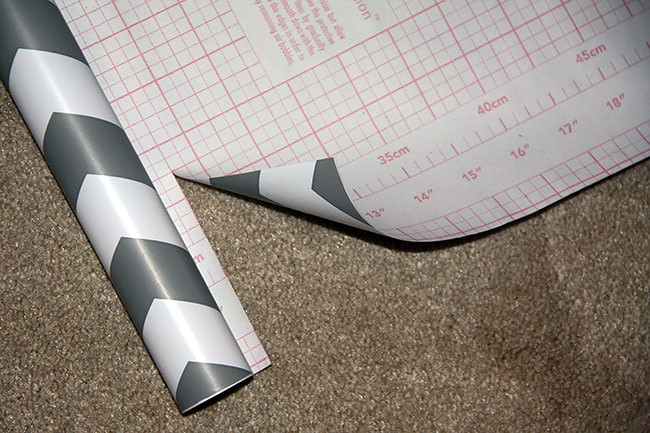
The shelf liner had measurements and lines on the back-side and I made a notch with my scissors and then cut all the way across.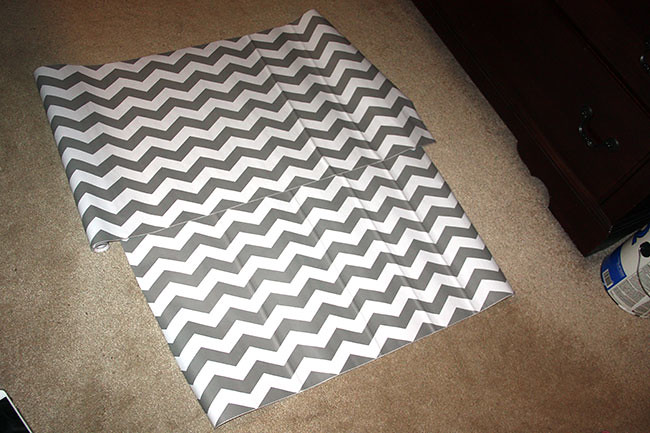
I peeled off the back of the shelf liner (its just like contact paper) and pressed the sticky side down on the vanity. It took me a few tries to get it down evenly without any bubbles, since it was such a long piece… (I promise I didn’t curse.) I got it down after the third try! You’ll see that I still had 4″ to cover and that is where I laid the second piece.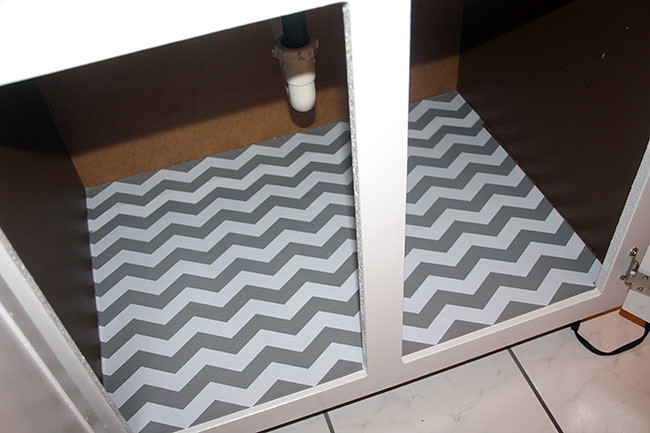
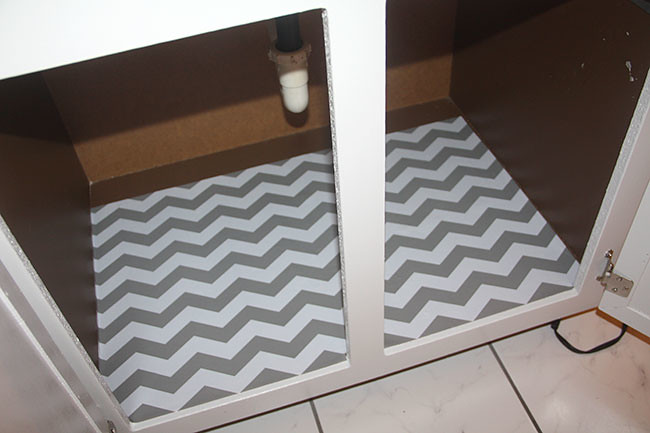
All done! This contact paper goes with the gray and whites in the bathroom and it really lightens up the inside of the vanity! I found the shelf liner at Hobby Lobby and it was only $7.99 for the roll.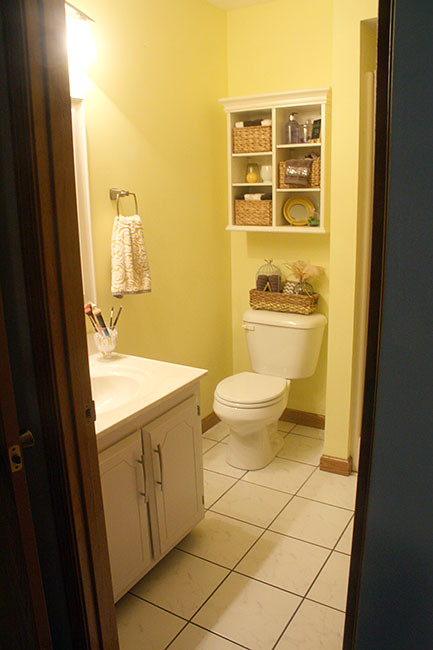
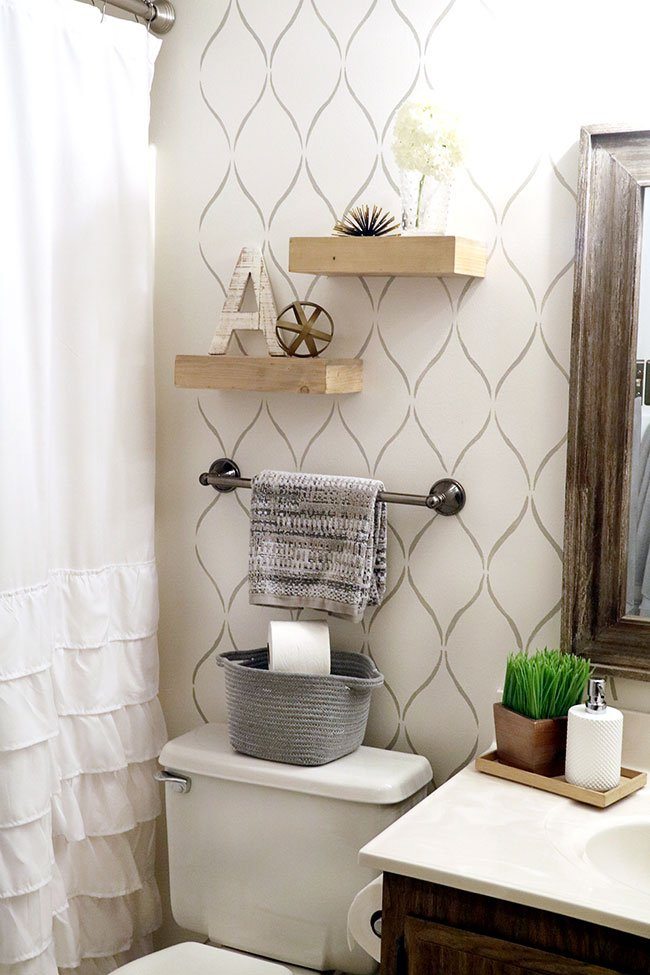
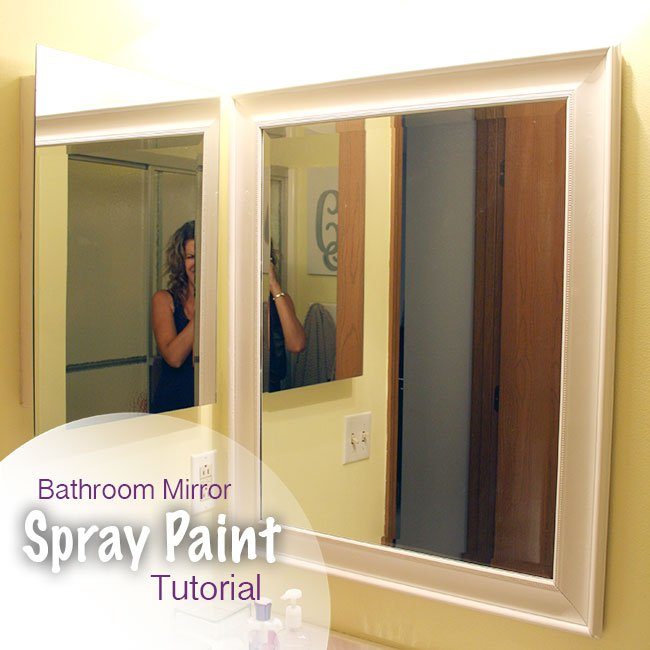
This is what the bathroom looks like if you were to step in from our bedroom, you’ll see that the vanity is painted a light gray and the walls are a soft yellow. I am so glad I was able to find a shelf liner that works so well with the rest of the bathroom.
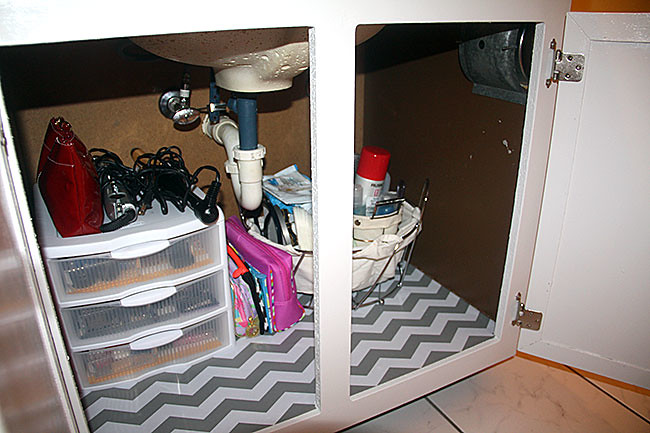
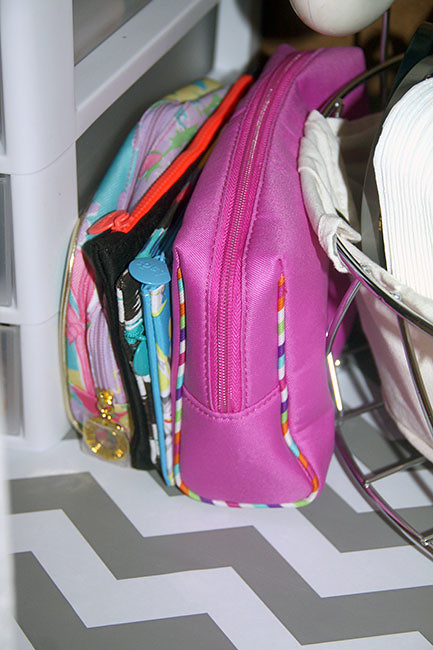
Here is what the inside looks like after I put everything back. I am storing my flat iron and curling iron on top of the makeup organizer, my Ipsy bags are in the middle (and other cosmetic bags) and then I am keeping my hair products, girly products, etc. on the left side. I plan to make an organizer on the left side eventually that will tidy up that side quite a bit. Just need to find time for that project. 🙂
Its always nice to go through everything and toss or giveaway items you are no longer using!
NEXT week I will be sharing the Master Bathroom Reveal post and then I will be diving in full-time on finishing my daughters room. I am working on painting her furniture and I need to finish the gallery wall in her room, it needs something along the top and side of her bed AND I also need to get rid of A BUNCH of stuff that she has in her room… it seems she has accumulated a lot of toys over the summer and I think some of the older ones need to go. Since she’ll be going back to school, Mom will be able to sneak in there and do this easily. 🙂 Shhh!
To see which parties I have linked up with, click HERE.