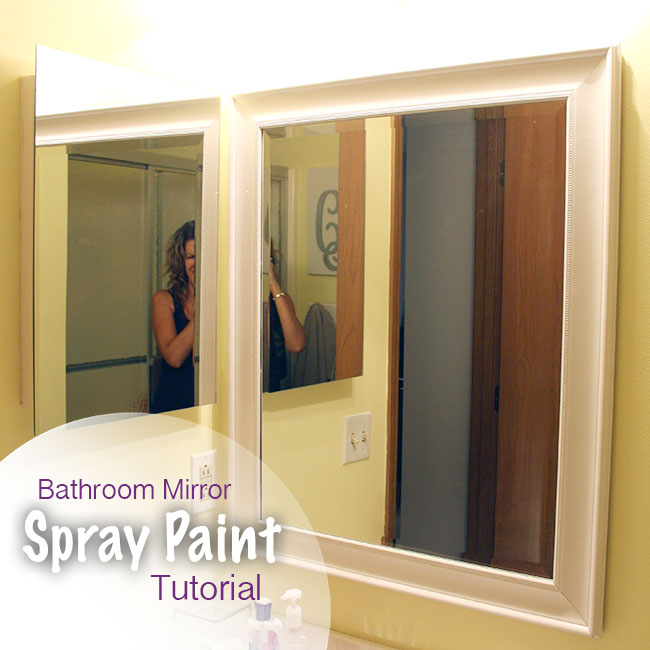
Today I am sharing another spray paint project with you… if you follow my blog, you know that I have been working on redecorating and updating the Master Bathroom. I am going to share how I updated the mirror in our bathroom and how I changed the color of it from silver to white with a can of spray paint!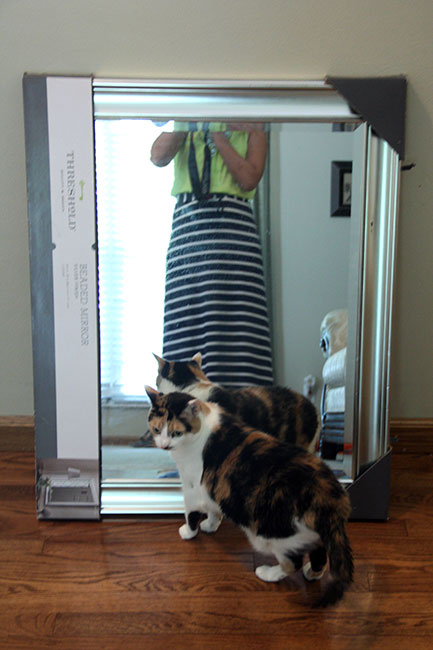
I purchased this beaded silver mirror from Target for $40. I could not find a white mirror in the large size that I needed for the bathroom, so I decided to spray paint it white!
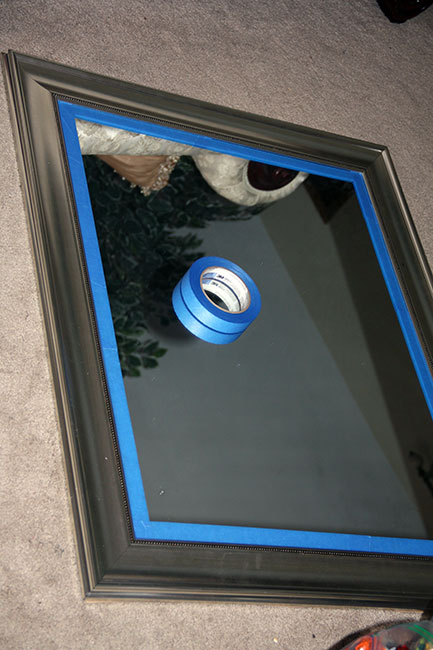
First, apply painters tape all around the mirror.
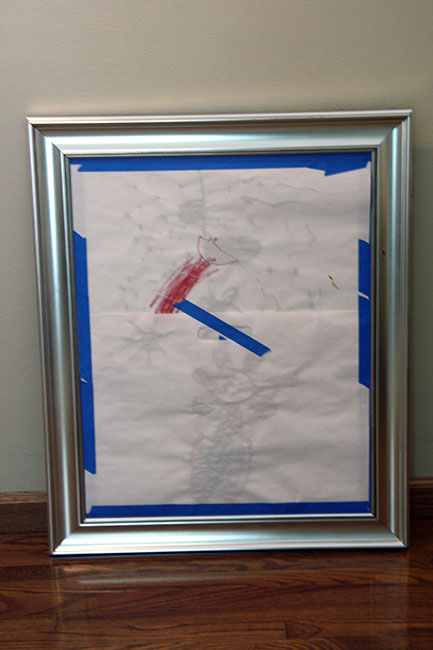
Then tape over the mirror some large white paper… I used some oversized white paper that my daughter had painted on.
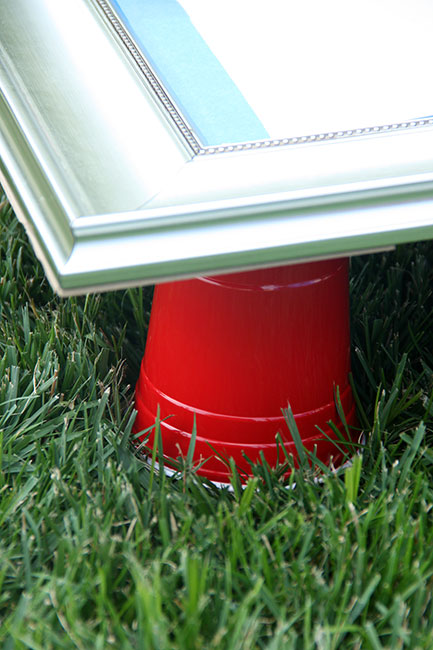
Since you are going to want to be able to paint the SIDES of the mirror as well as the front of the mirror, you’ll want to prop the mirror up on something. I used plastic cups, because I had a lot of them and I didn’t care if they got ruined… I could just throw them away after I finished spray painting the frame. Easy peasy!
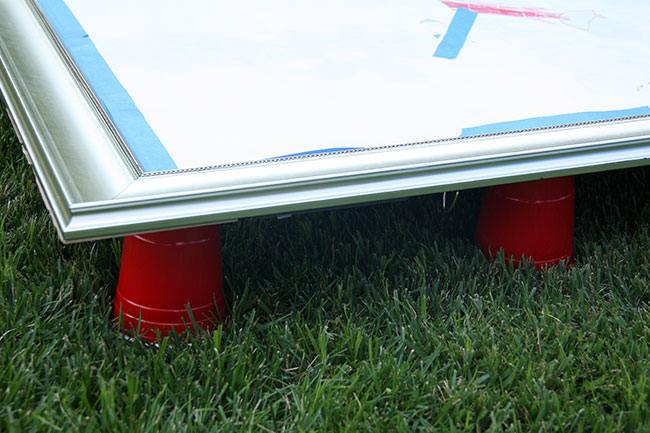
Here is what the mirror looked like after I propped it up on top of the red plastic cups.
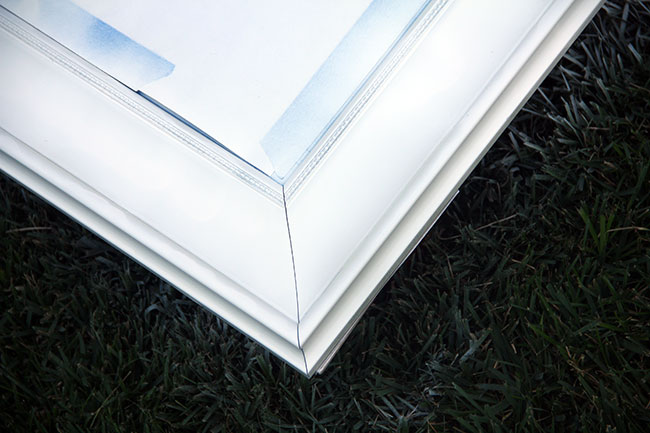
I did about 4 coats, letting them dry a good half hour in-between coats. Make sure you have a can of white spray paint that is FULL, if the can starts to get empty it will start splattering out and it won’t give the mirror an even finish. Also, make sure you don’t spray too much white paint or it’ll pool into puddles on the frame which will also result in an uneven finish. I used a white satin finish… you could use a flat or glossy finish. This is what the frame looked like after the first coat.
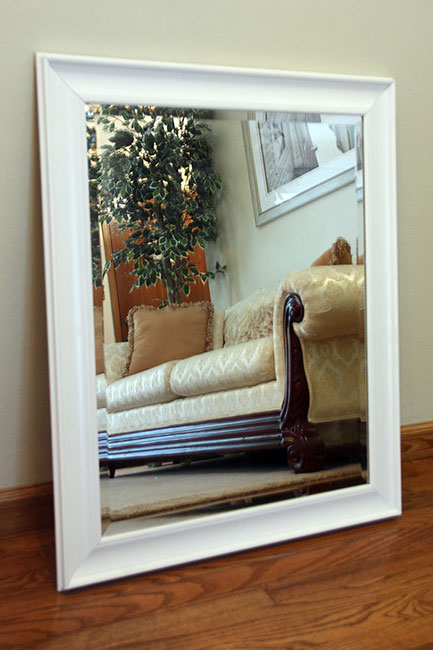
Here is the finished mirror after 4 coats of white satin spray paint. Doesn’t it look fab? If any of the white paint does somehow get on the mirror, you should be able to get it off by scraping it with your nail, or you can try to get it off with an exact knife (scrape gently, though!).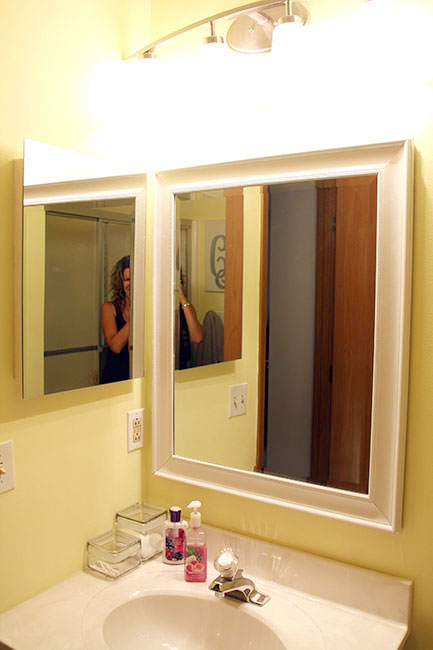
The last time I hung something, it was over our toilet and it fell off and cracked the tank of the toilet! I leave hanging ‘heavy’ items to Brian now… 🙂 Here is what the frame looked like after he hung it up in our Master Bathroom! I love how chic and trendy it looks… our mirror before this one was a HUGE sheet mirror… no frame on it, nothing… I’ve been wanting to have a ‘frame’ around our mirror for awhile now! Even Autumn went ‘ooohh’ and ‘ahhh’ when she walked in the bathroom the next morning. I think everyones reflection always looks better in a pretty frame, right?!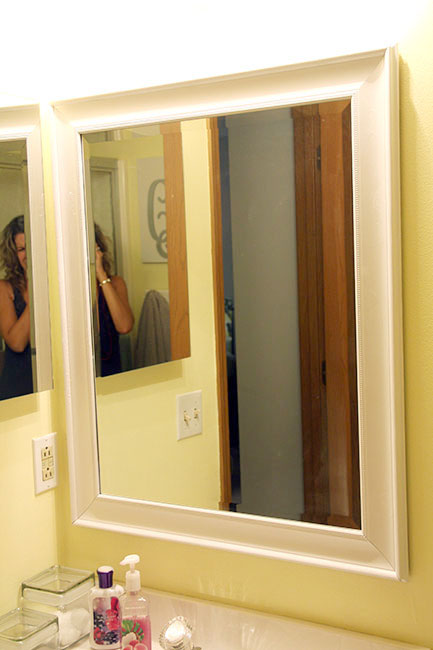
I am so pleased with this mirror, that I can’t wait to do something similar in our hall bathroom!! I don’t have a whole lot left in this bathroom…
Here is the list of what remains for our Master Bathroom:
- Paint Vanity WHITE (if you have any tips PLEASE send them my way, never done this before)
- New Knobs for the Vanity (I’ve already picked these out at Lowes)
- New Faucet (the one we have now is an antique! who uses clear knobs these days?!)
- Towel Ring near Sink (so we can dry our hands off BY the sink)
THAT’S IT!! Then… I’ll probably move on to updating/redecorating our Hall Bath!! I have a lot of other areas in the home that I plan to start on/finish, too… It will be nice to be DONE with this Master Bathroom (sooner or later).
AND, when I get this bathroom done… I cannot wait to show you before and after photos… it is really something, trust me!!! Before and after photos are always my fave, so stay TUNED!
Check out the other projects I have completed in our Master Bathroom below: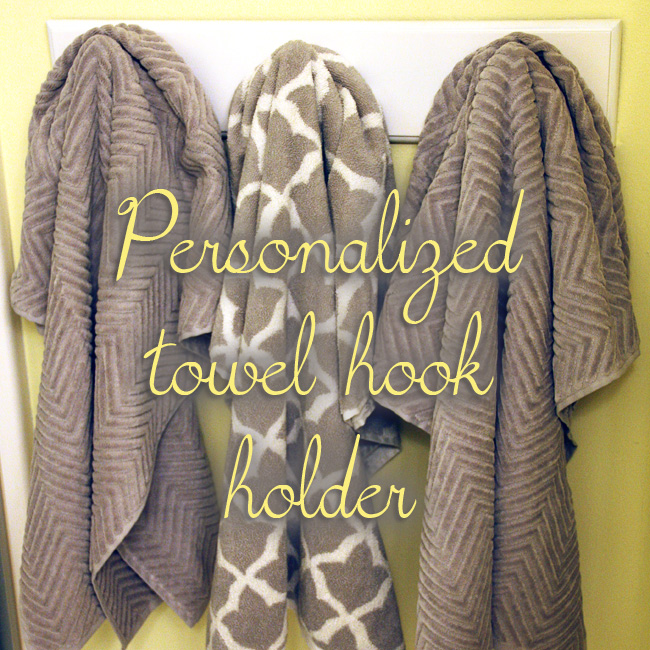
Personalized Towel Hook Holder with Pottery Barn Towels, click HERE
Decorating with Shelves and Baskets, click HERE

Monogrammed Canvas, click HERE
