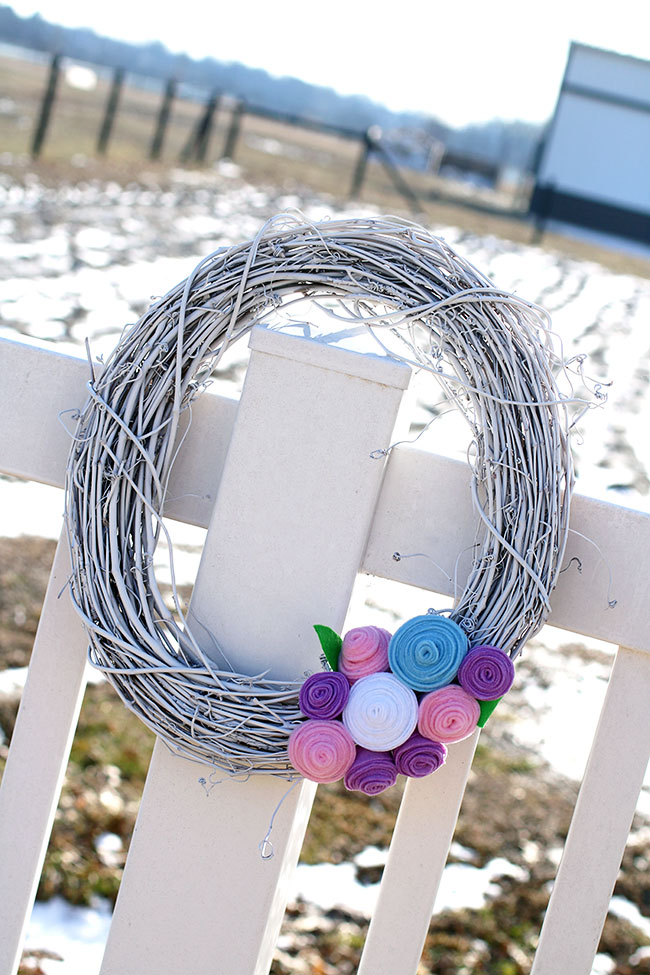
Valentine’s Day is over… and, I am ready for the Spring! Recently I made a wreath for Autumn’s room and the grapevine wreath and the felt colors make me think of early Spring… so does the snow in the background. 😉 This wreath was really easy to make and I did something unique in that I spray painted the grapevine wreath white! I haven’t seen this done before and I wasn’t sure how it would turn out, but the spray paint covered it wonderfully! I also created some felt rosettes (tutorial below) and a couple of felt leaves. I was really pleased with how the wreath turned out and Autumn loves it, too!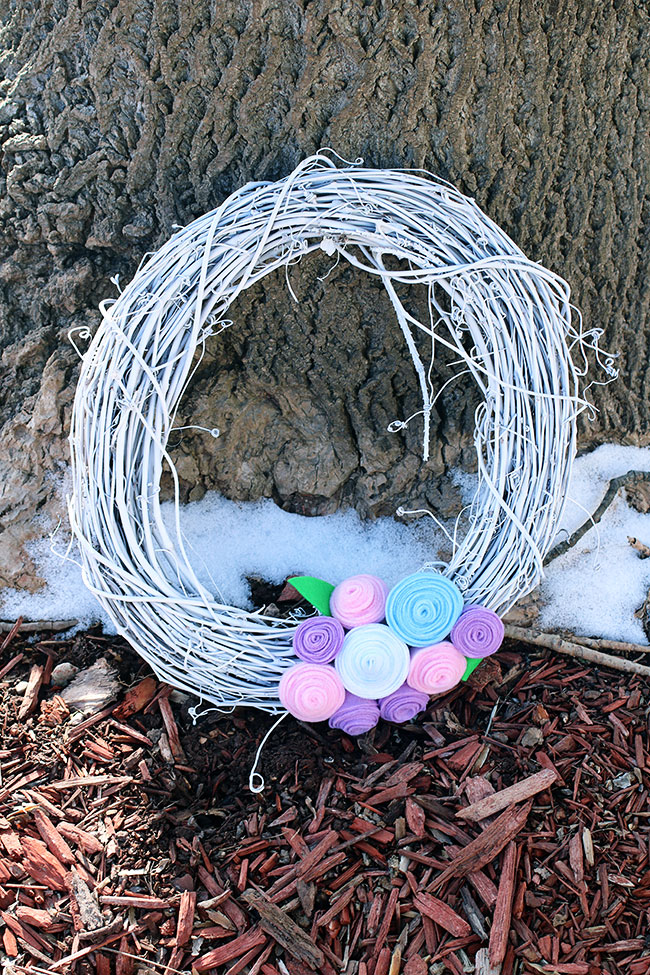
Directions to Create your Own Felt Rosette Wreath: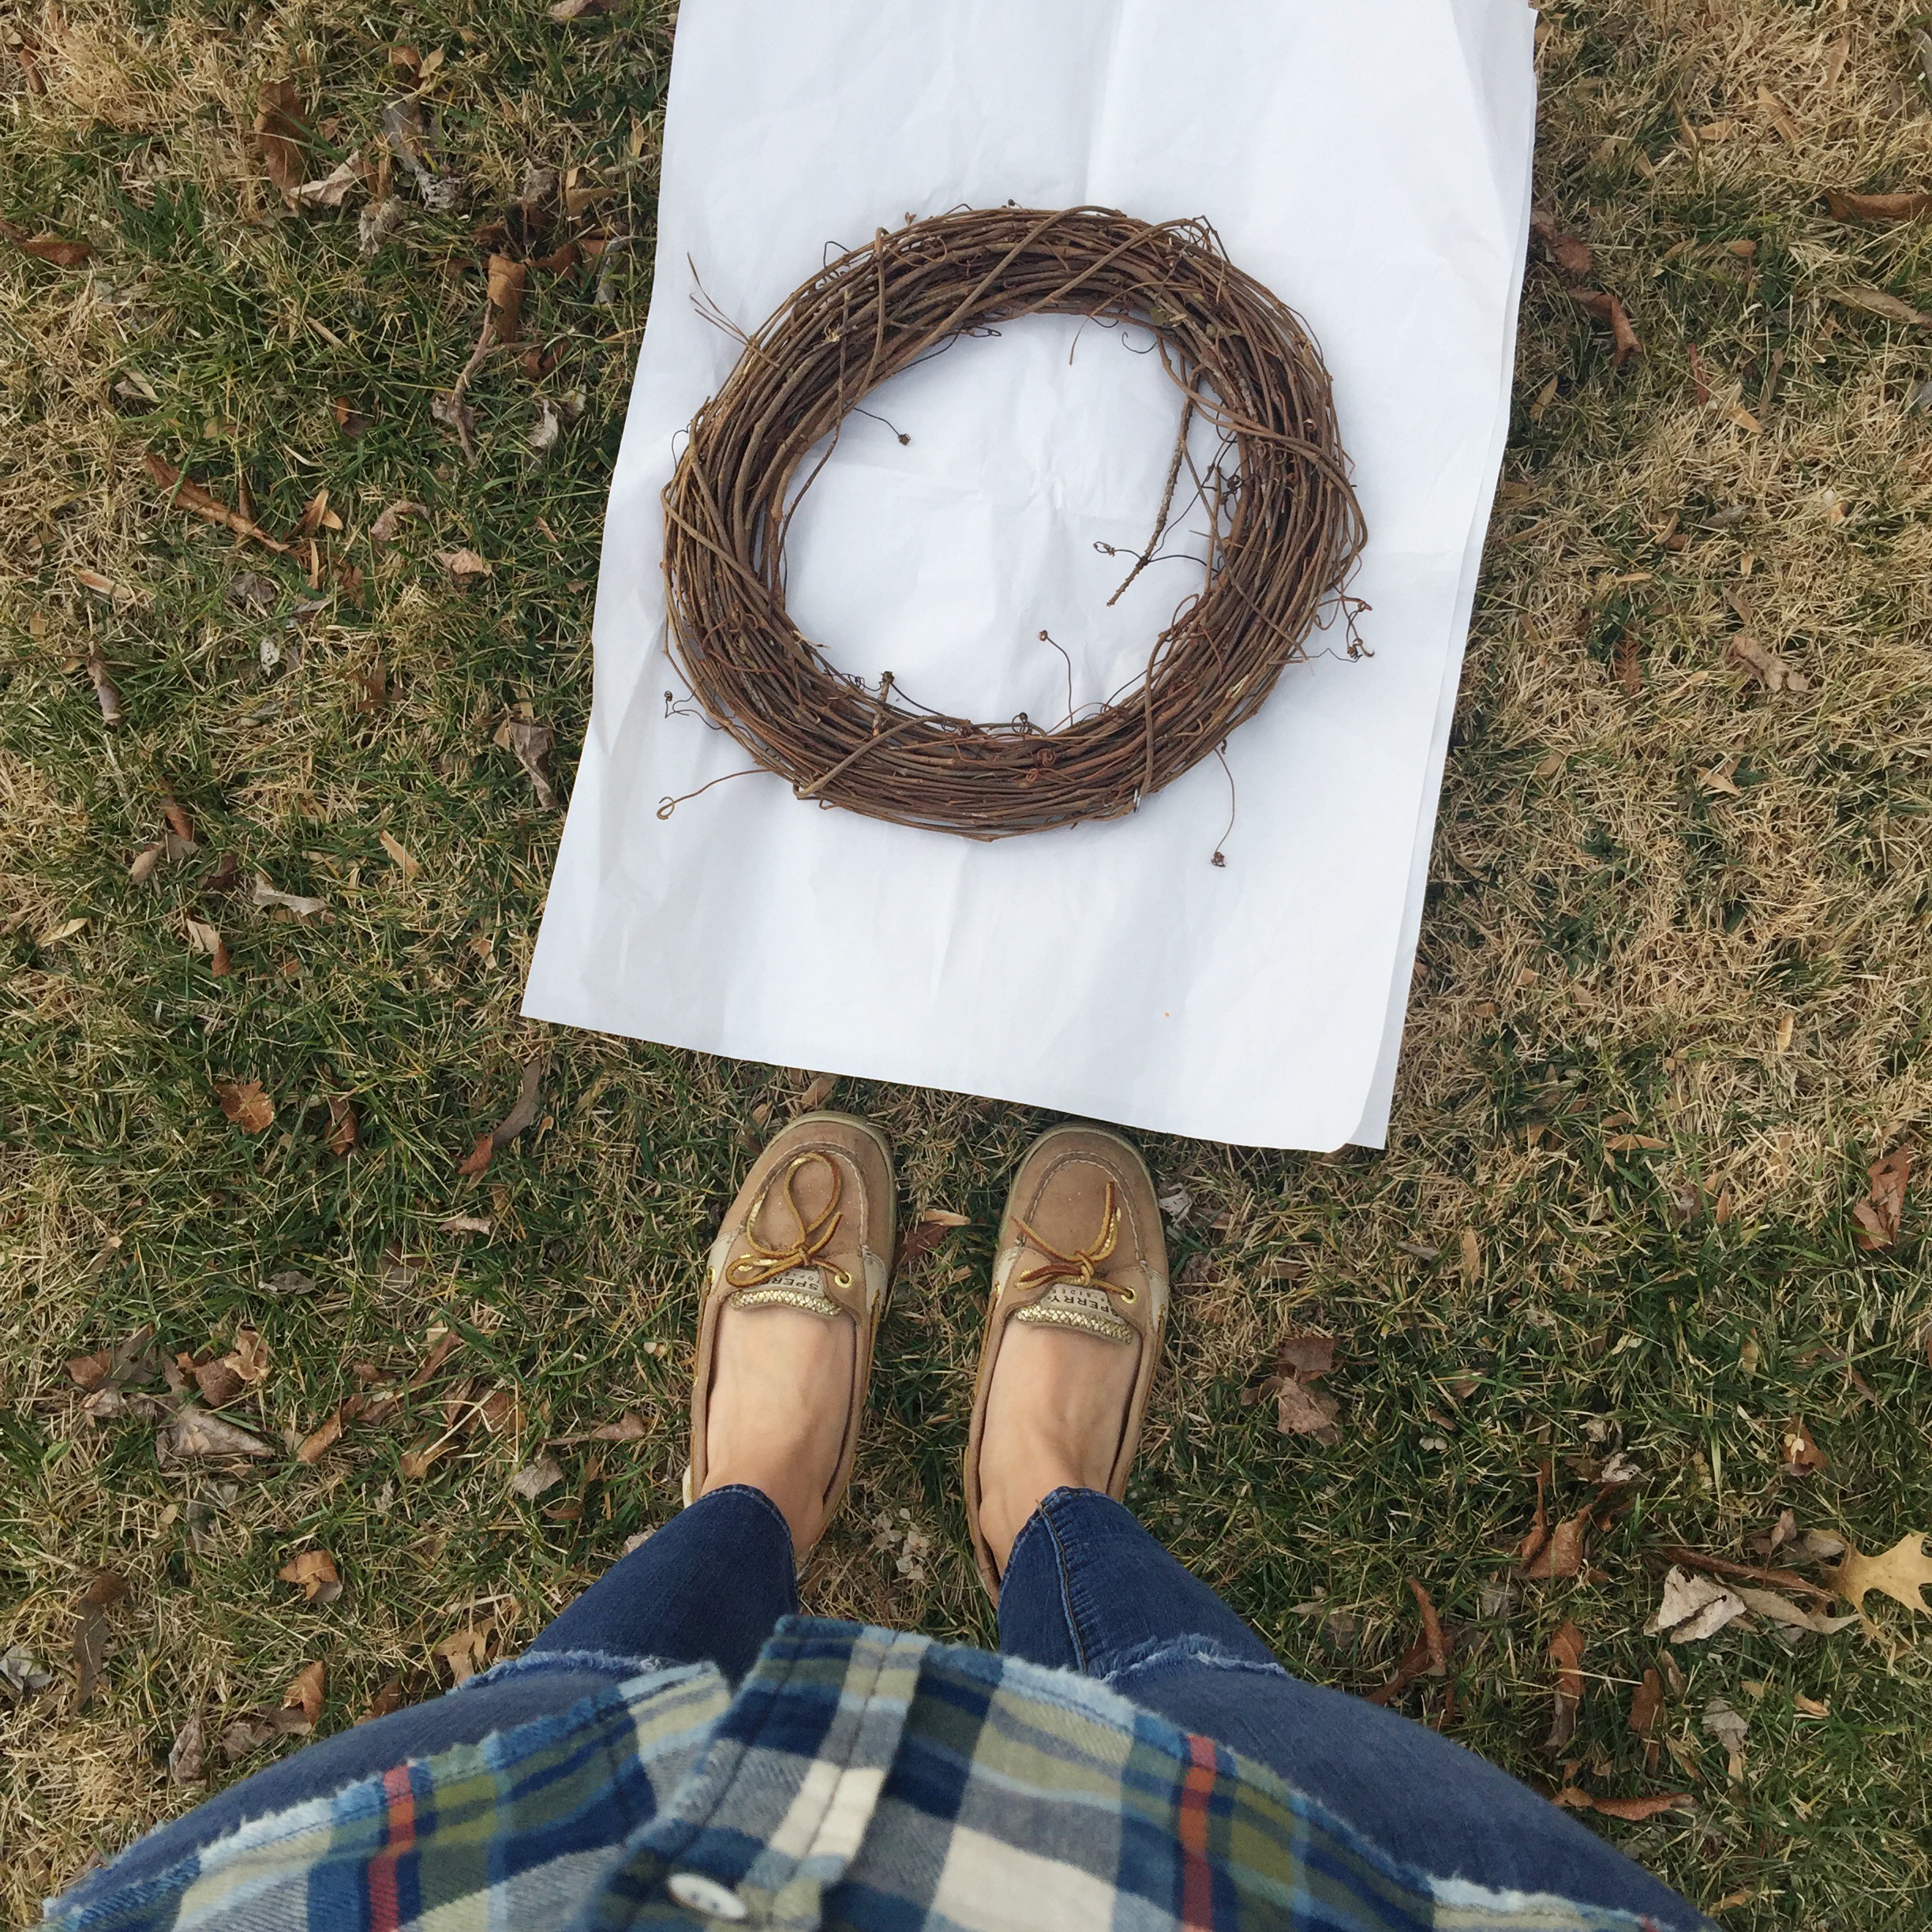
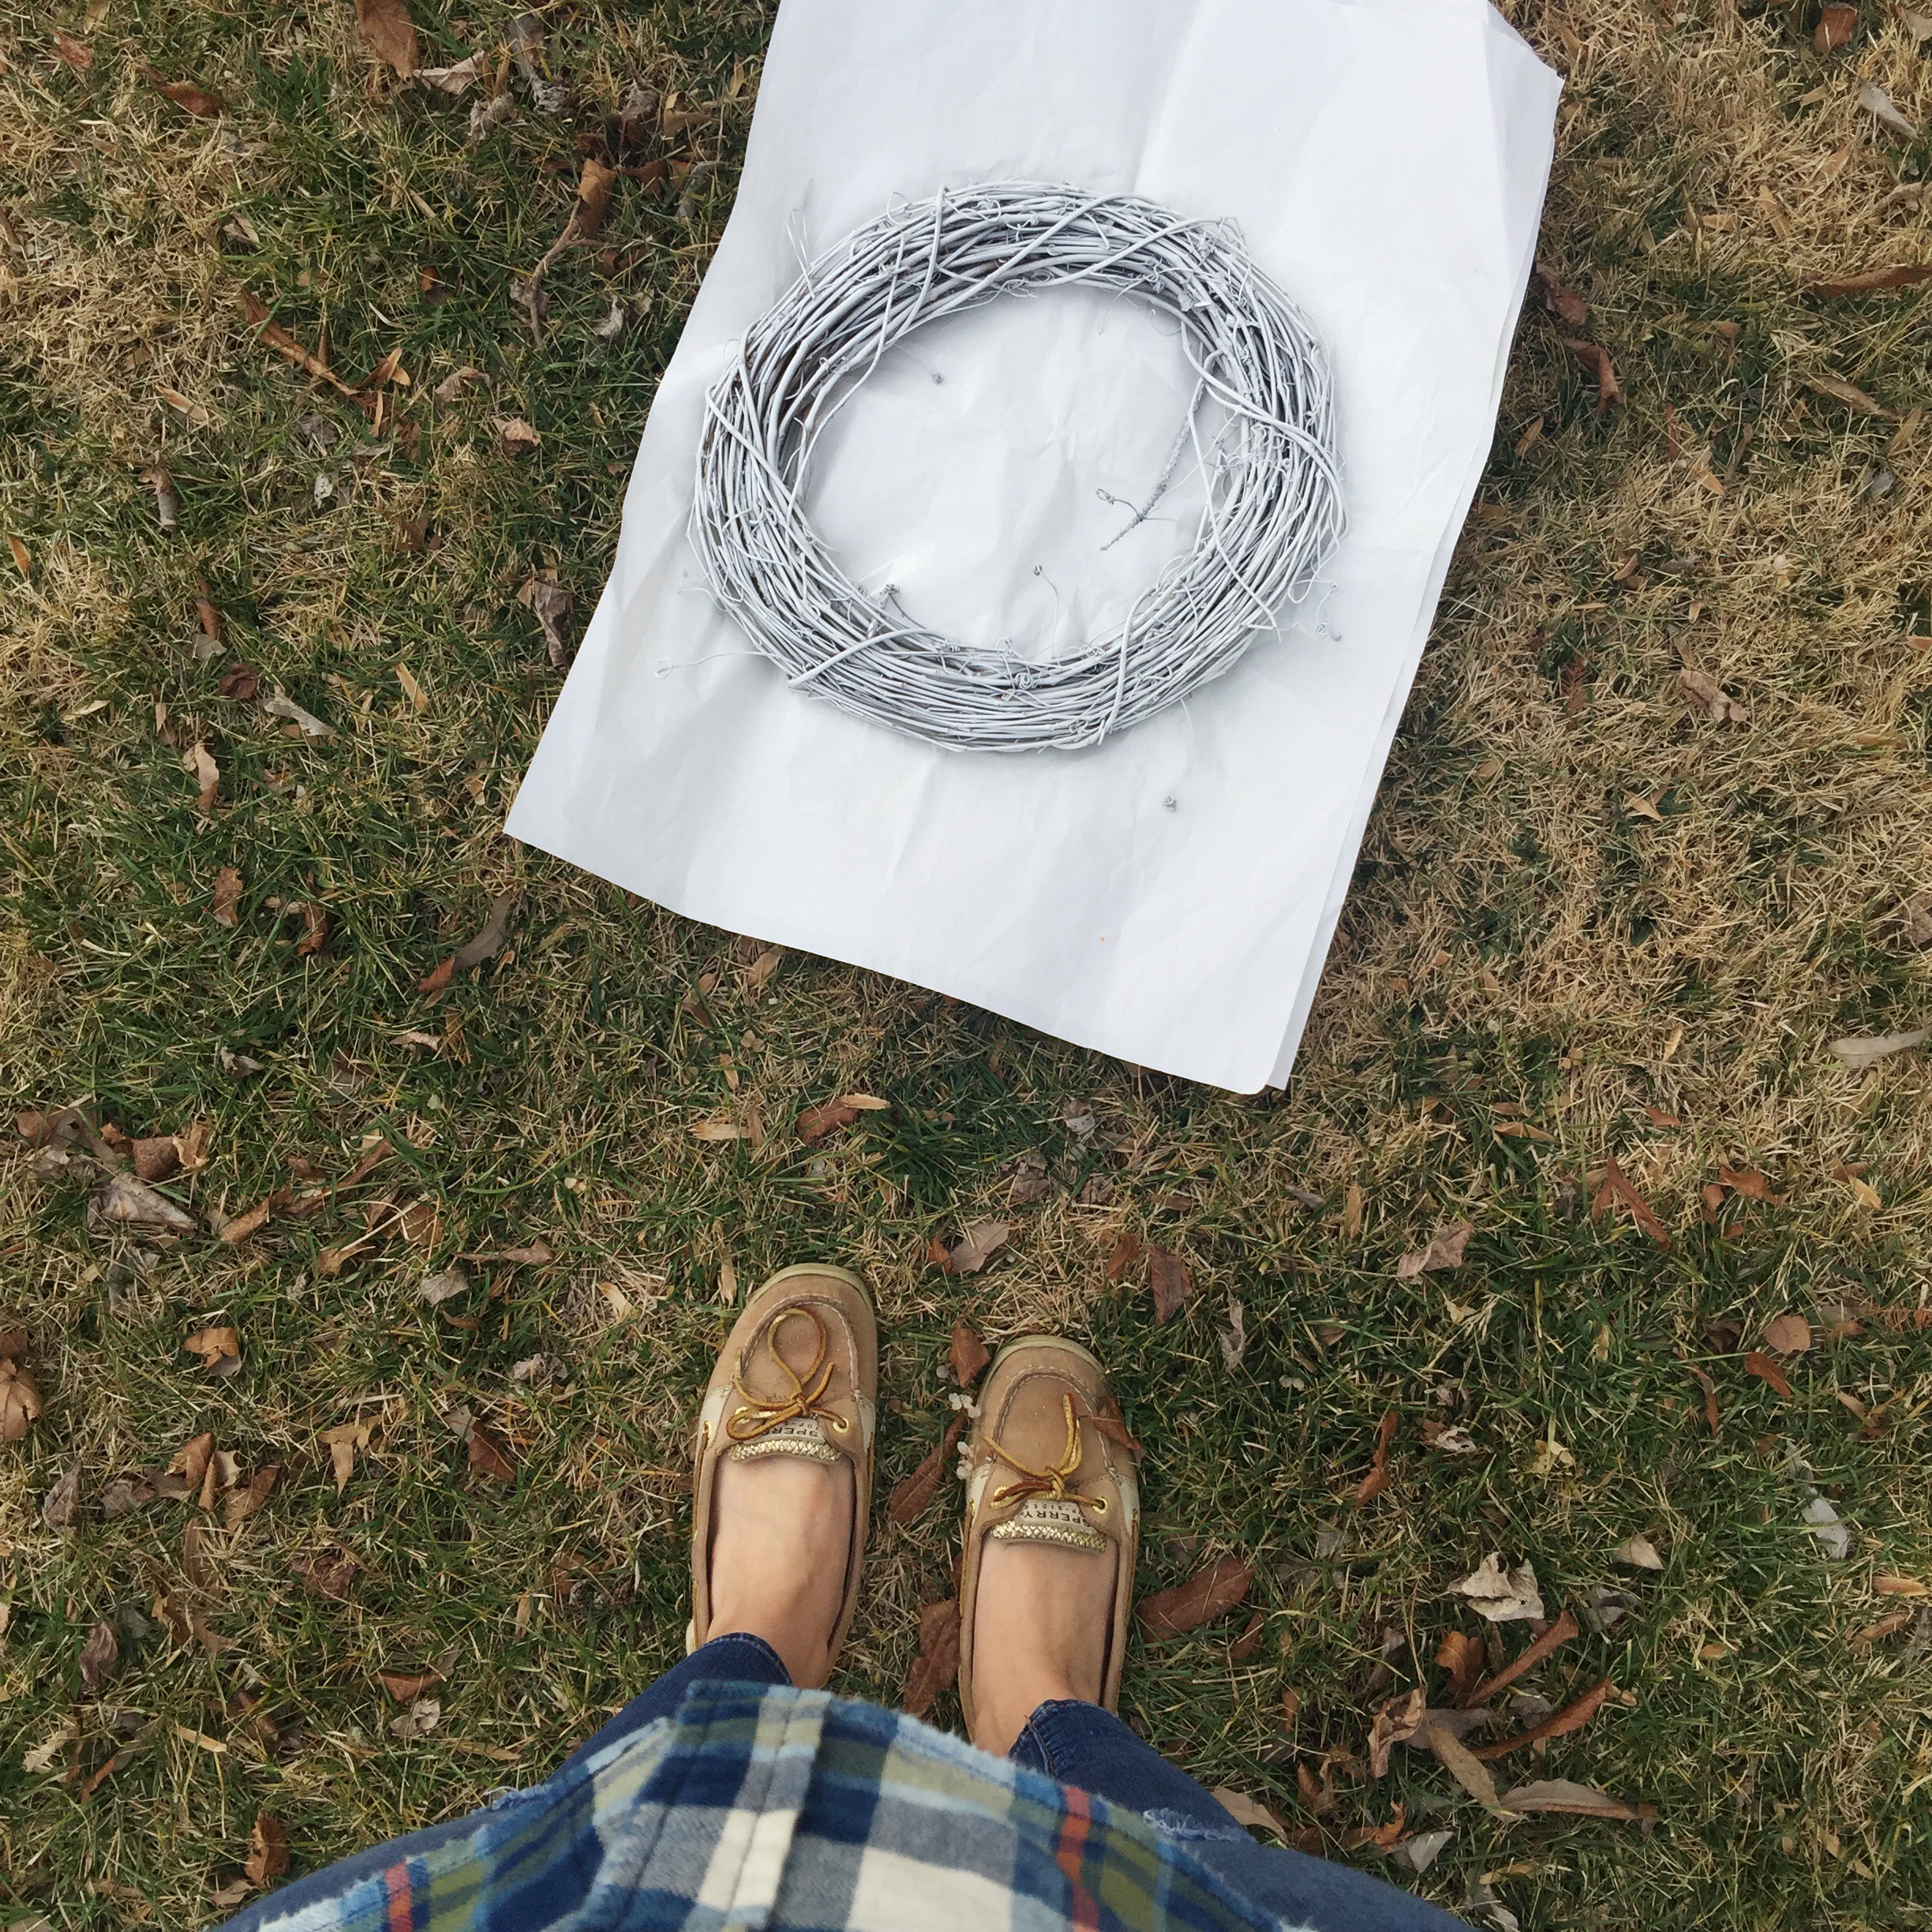
The first step was taking the grapevine wreath outside to spray paint it. The photo on the right shows what the wreath looked like after two coats of a white spray paint with primer.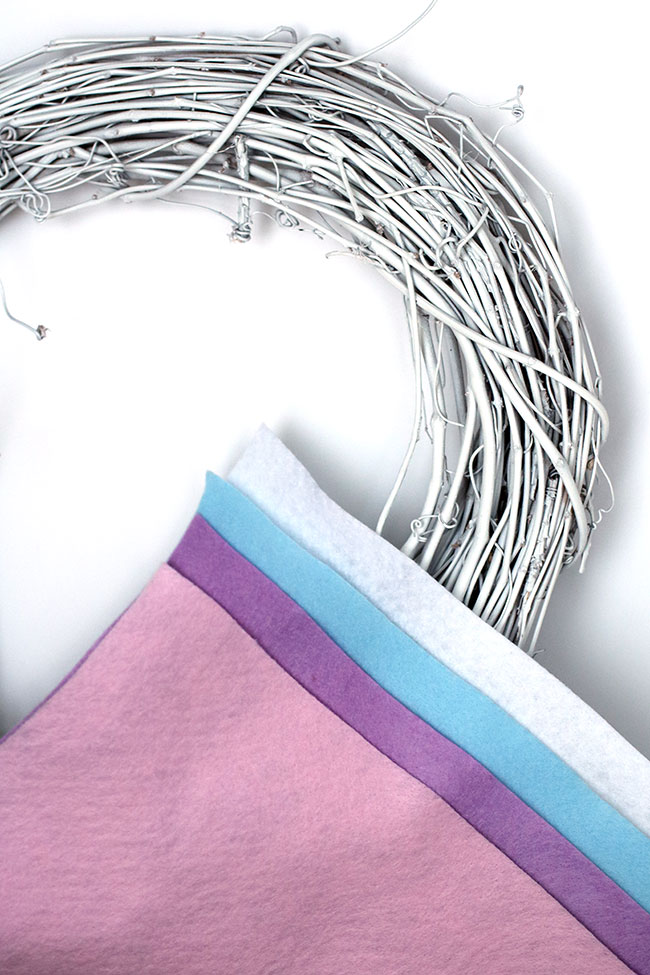
Once the grapevine wreath was dry, I brought it inside and selected the felt colors for the rosettes.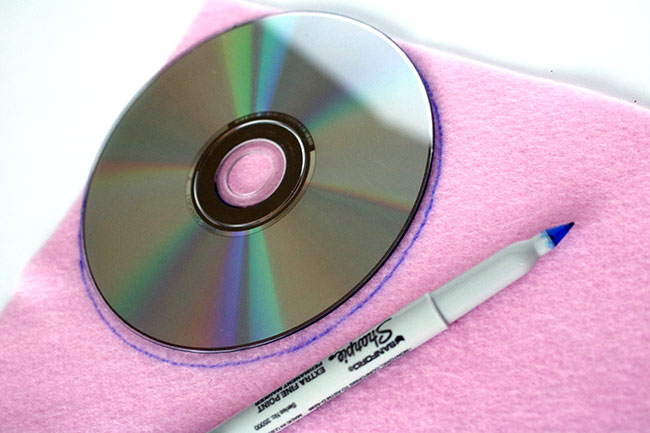
I had never made a felt rosettes before, but it is a little different from how you make a fabric rosette. First, you want to find a round object in your house to trace a circle around. I used a DVD and a sharpie marker.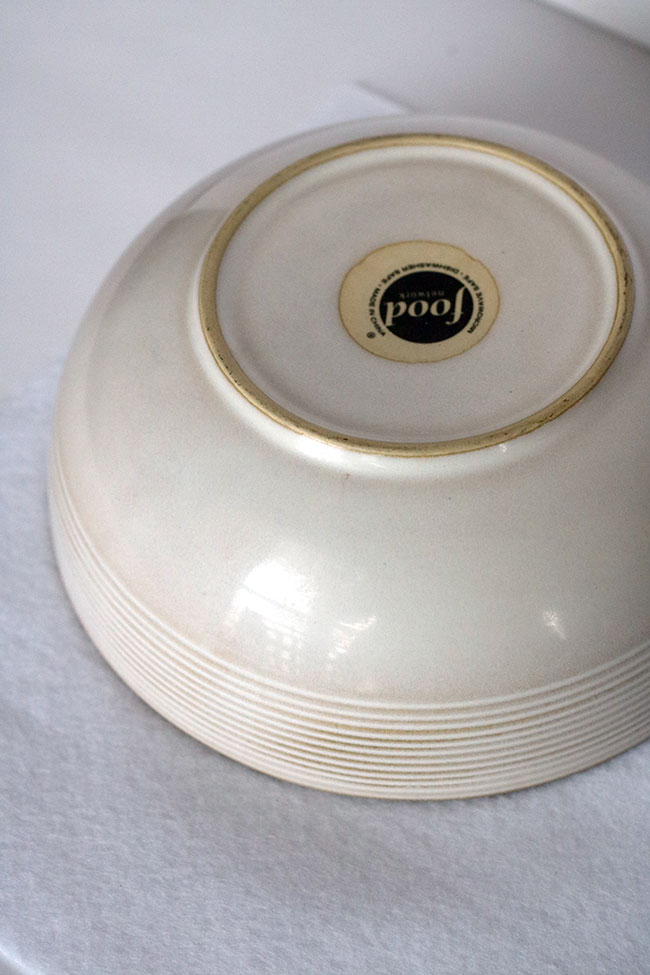
If you want to do rosettes in different sizes, you can find other objects around the house to trace around. I used a bowl to make two rosettes that were slightly larger.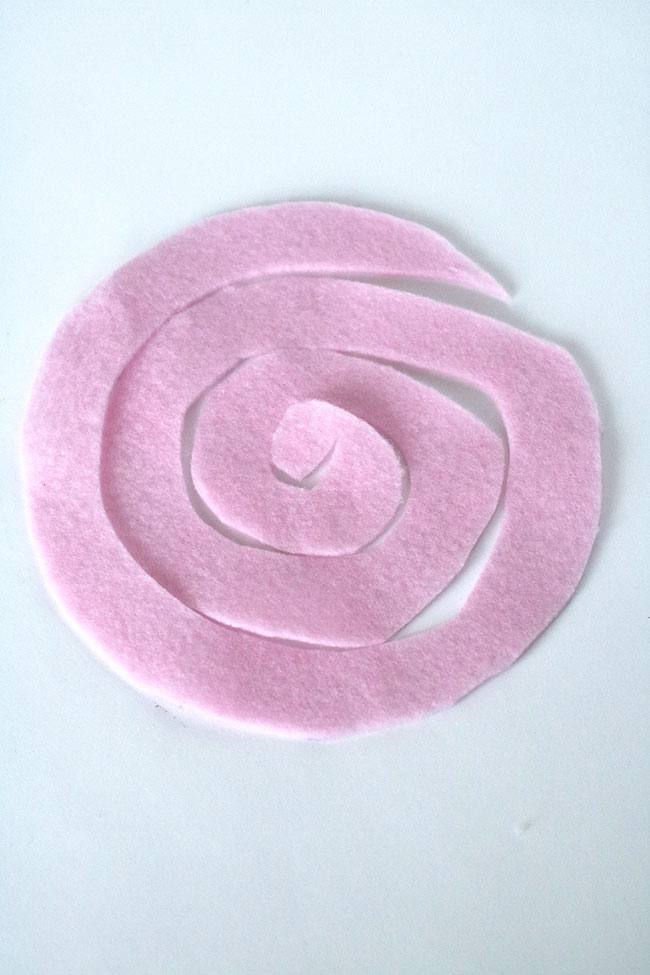
Cut the circle out and then cut around the inside of the circle in a spiral pattern (as pictured above).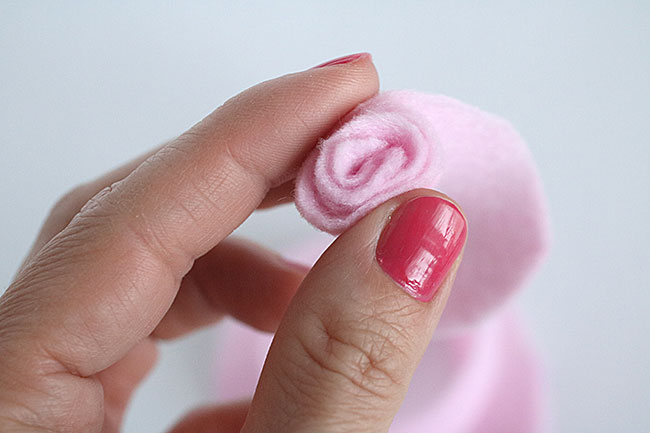 Then from the center, wrap the felt around and around to make a rosette.
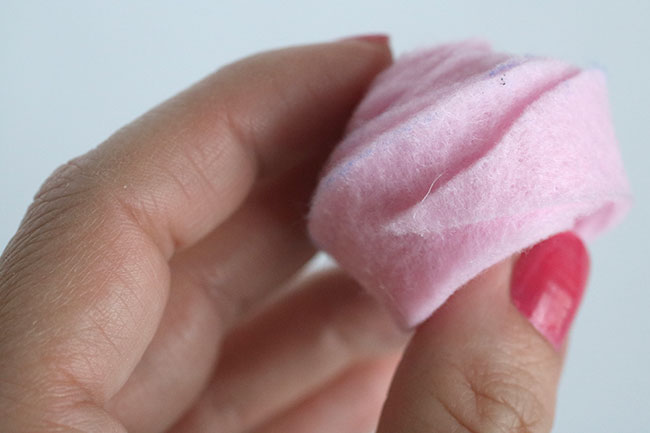
I used a hot glue gun to seal the end of the rosette. You could also use fabric glue.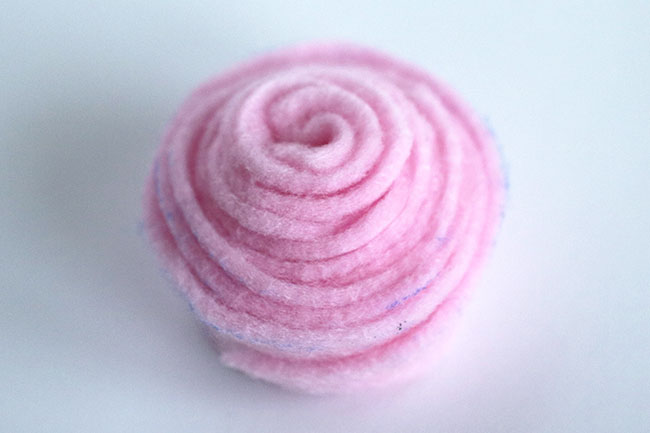
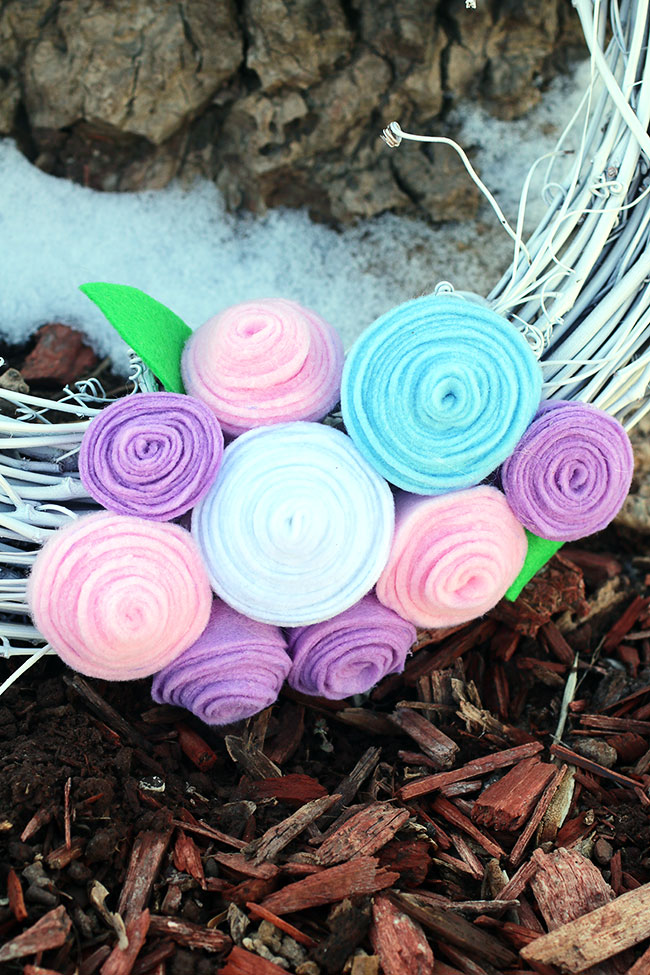
This is what the felt rosette looked like once I was done.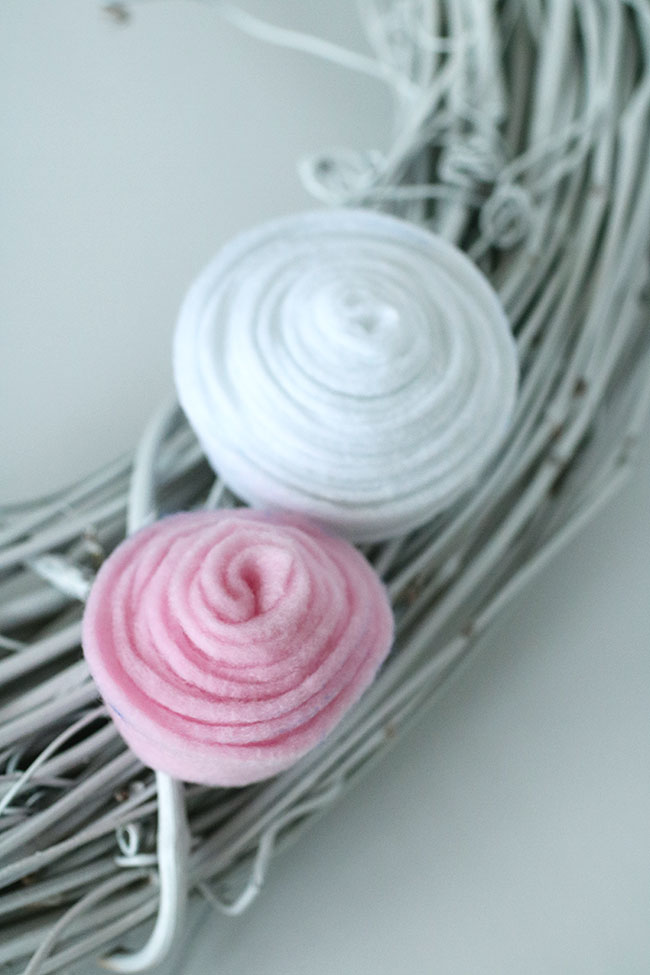 Then I hot glued the rosettes onto the wreath once I had finished them all.
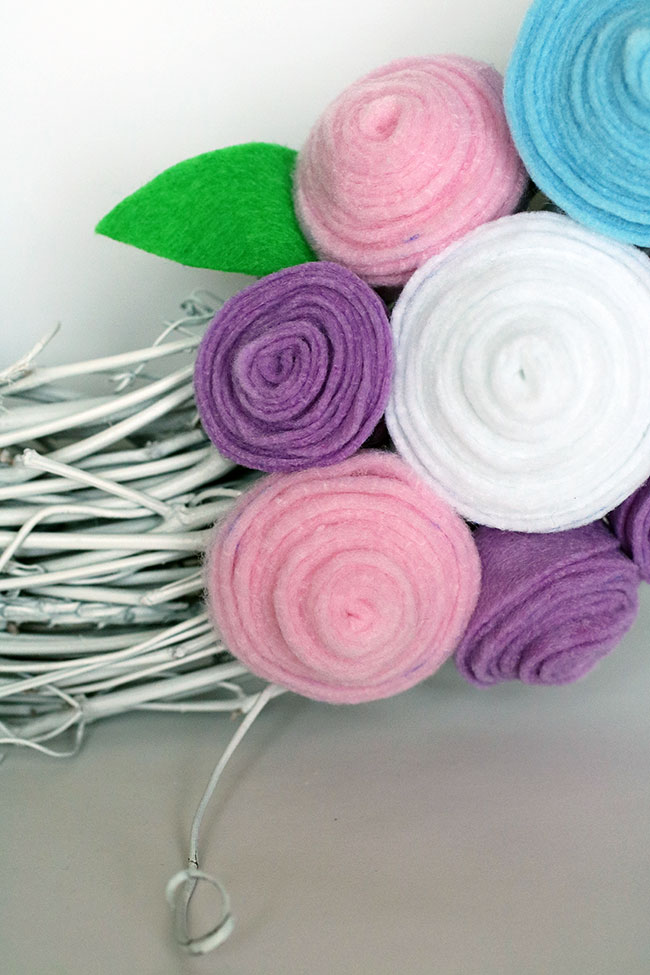 As an after thought, I added a couple of leaves using green felt.
And, here is what the wreath looked like after I was finished!
Enter to Win a $50 Gift Card to PinkBlush:
a Rafflecopter giveaway
To see which parties I have linked up with, click HERE.